It was recently one of my closest friend's (now girlfriend!) birthday and, as she thoroughly enjoys a good sea critter, I thought it would be fun to crochet her one.
I chose the "Baby Humpback Whale" pattern by ChiWei Rank on Ravelry for this project. It's a good pattern; the steps are clear and result in a really nice final product given none of the techniques used are particularly complicated.
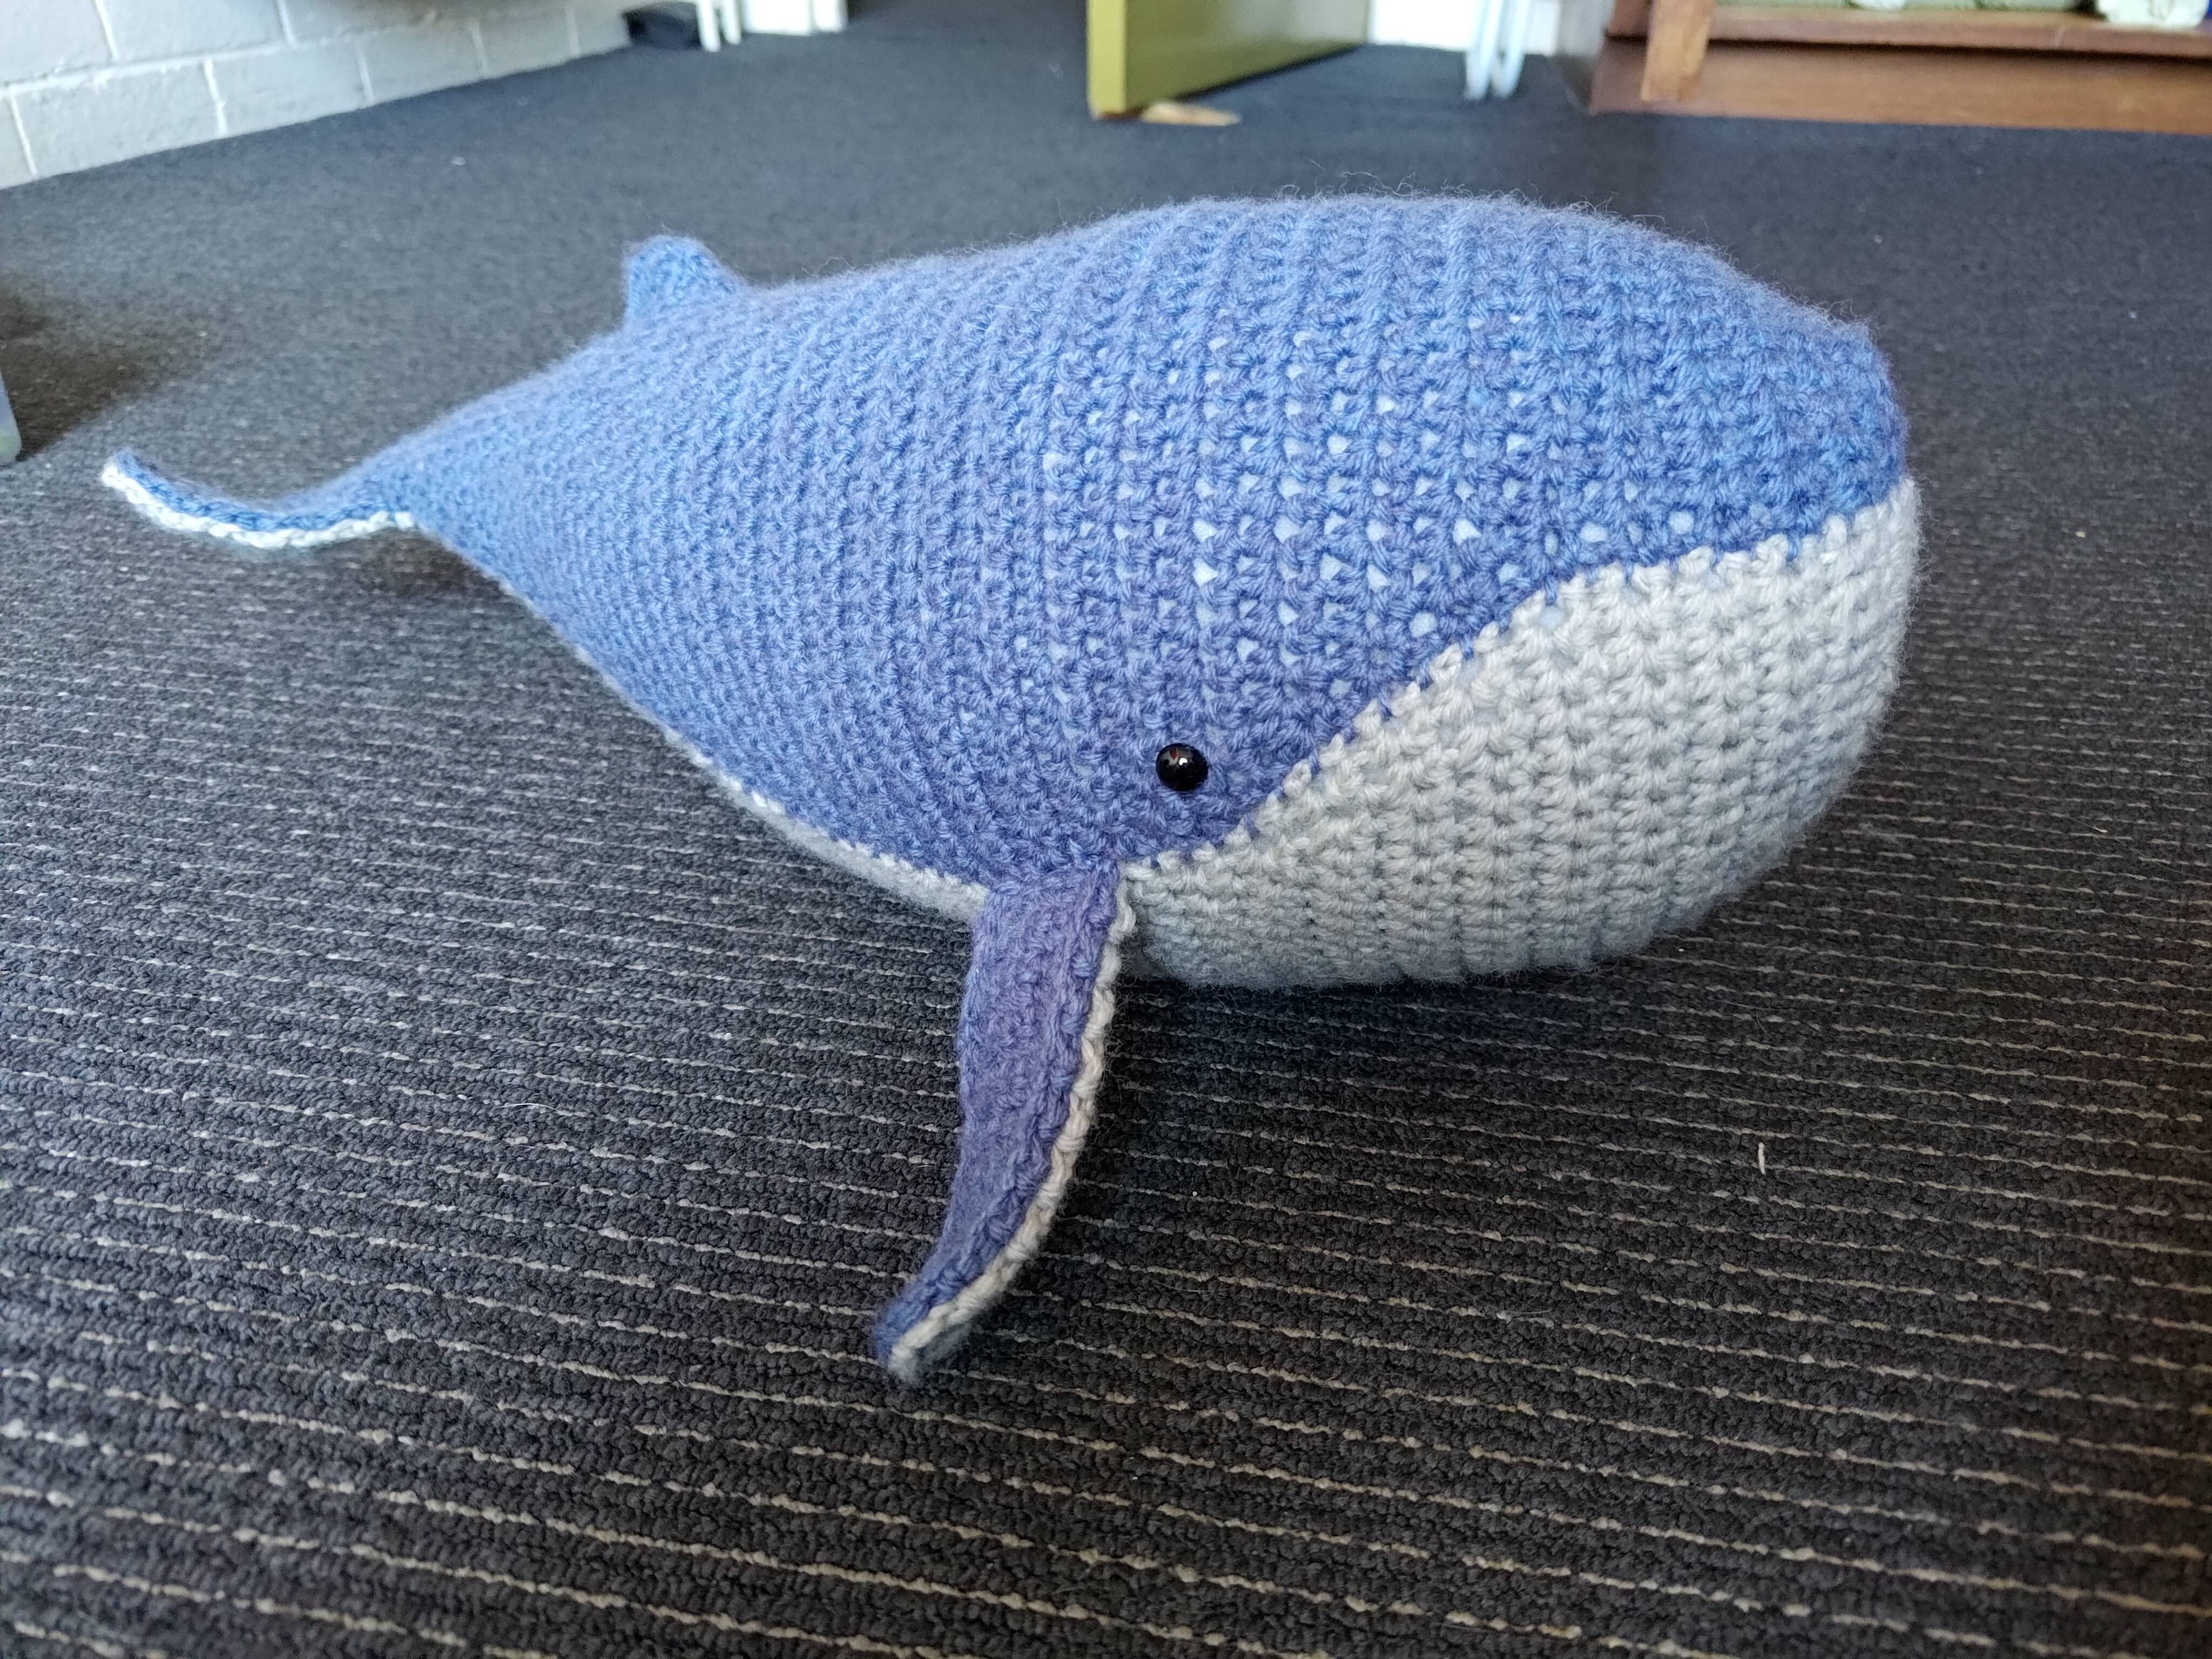
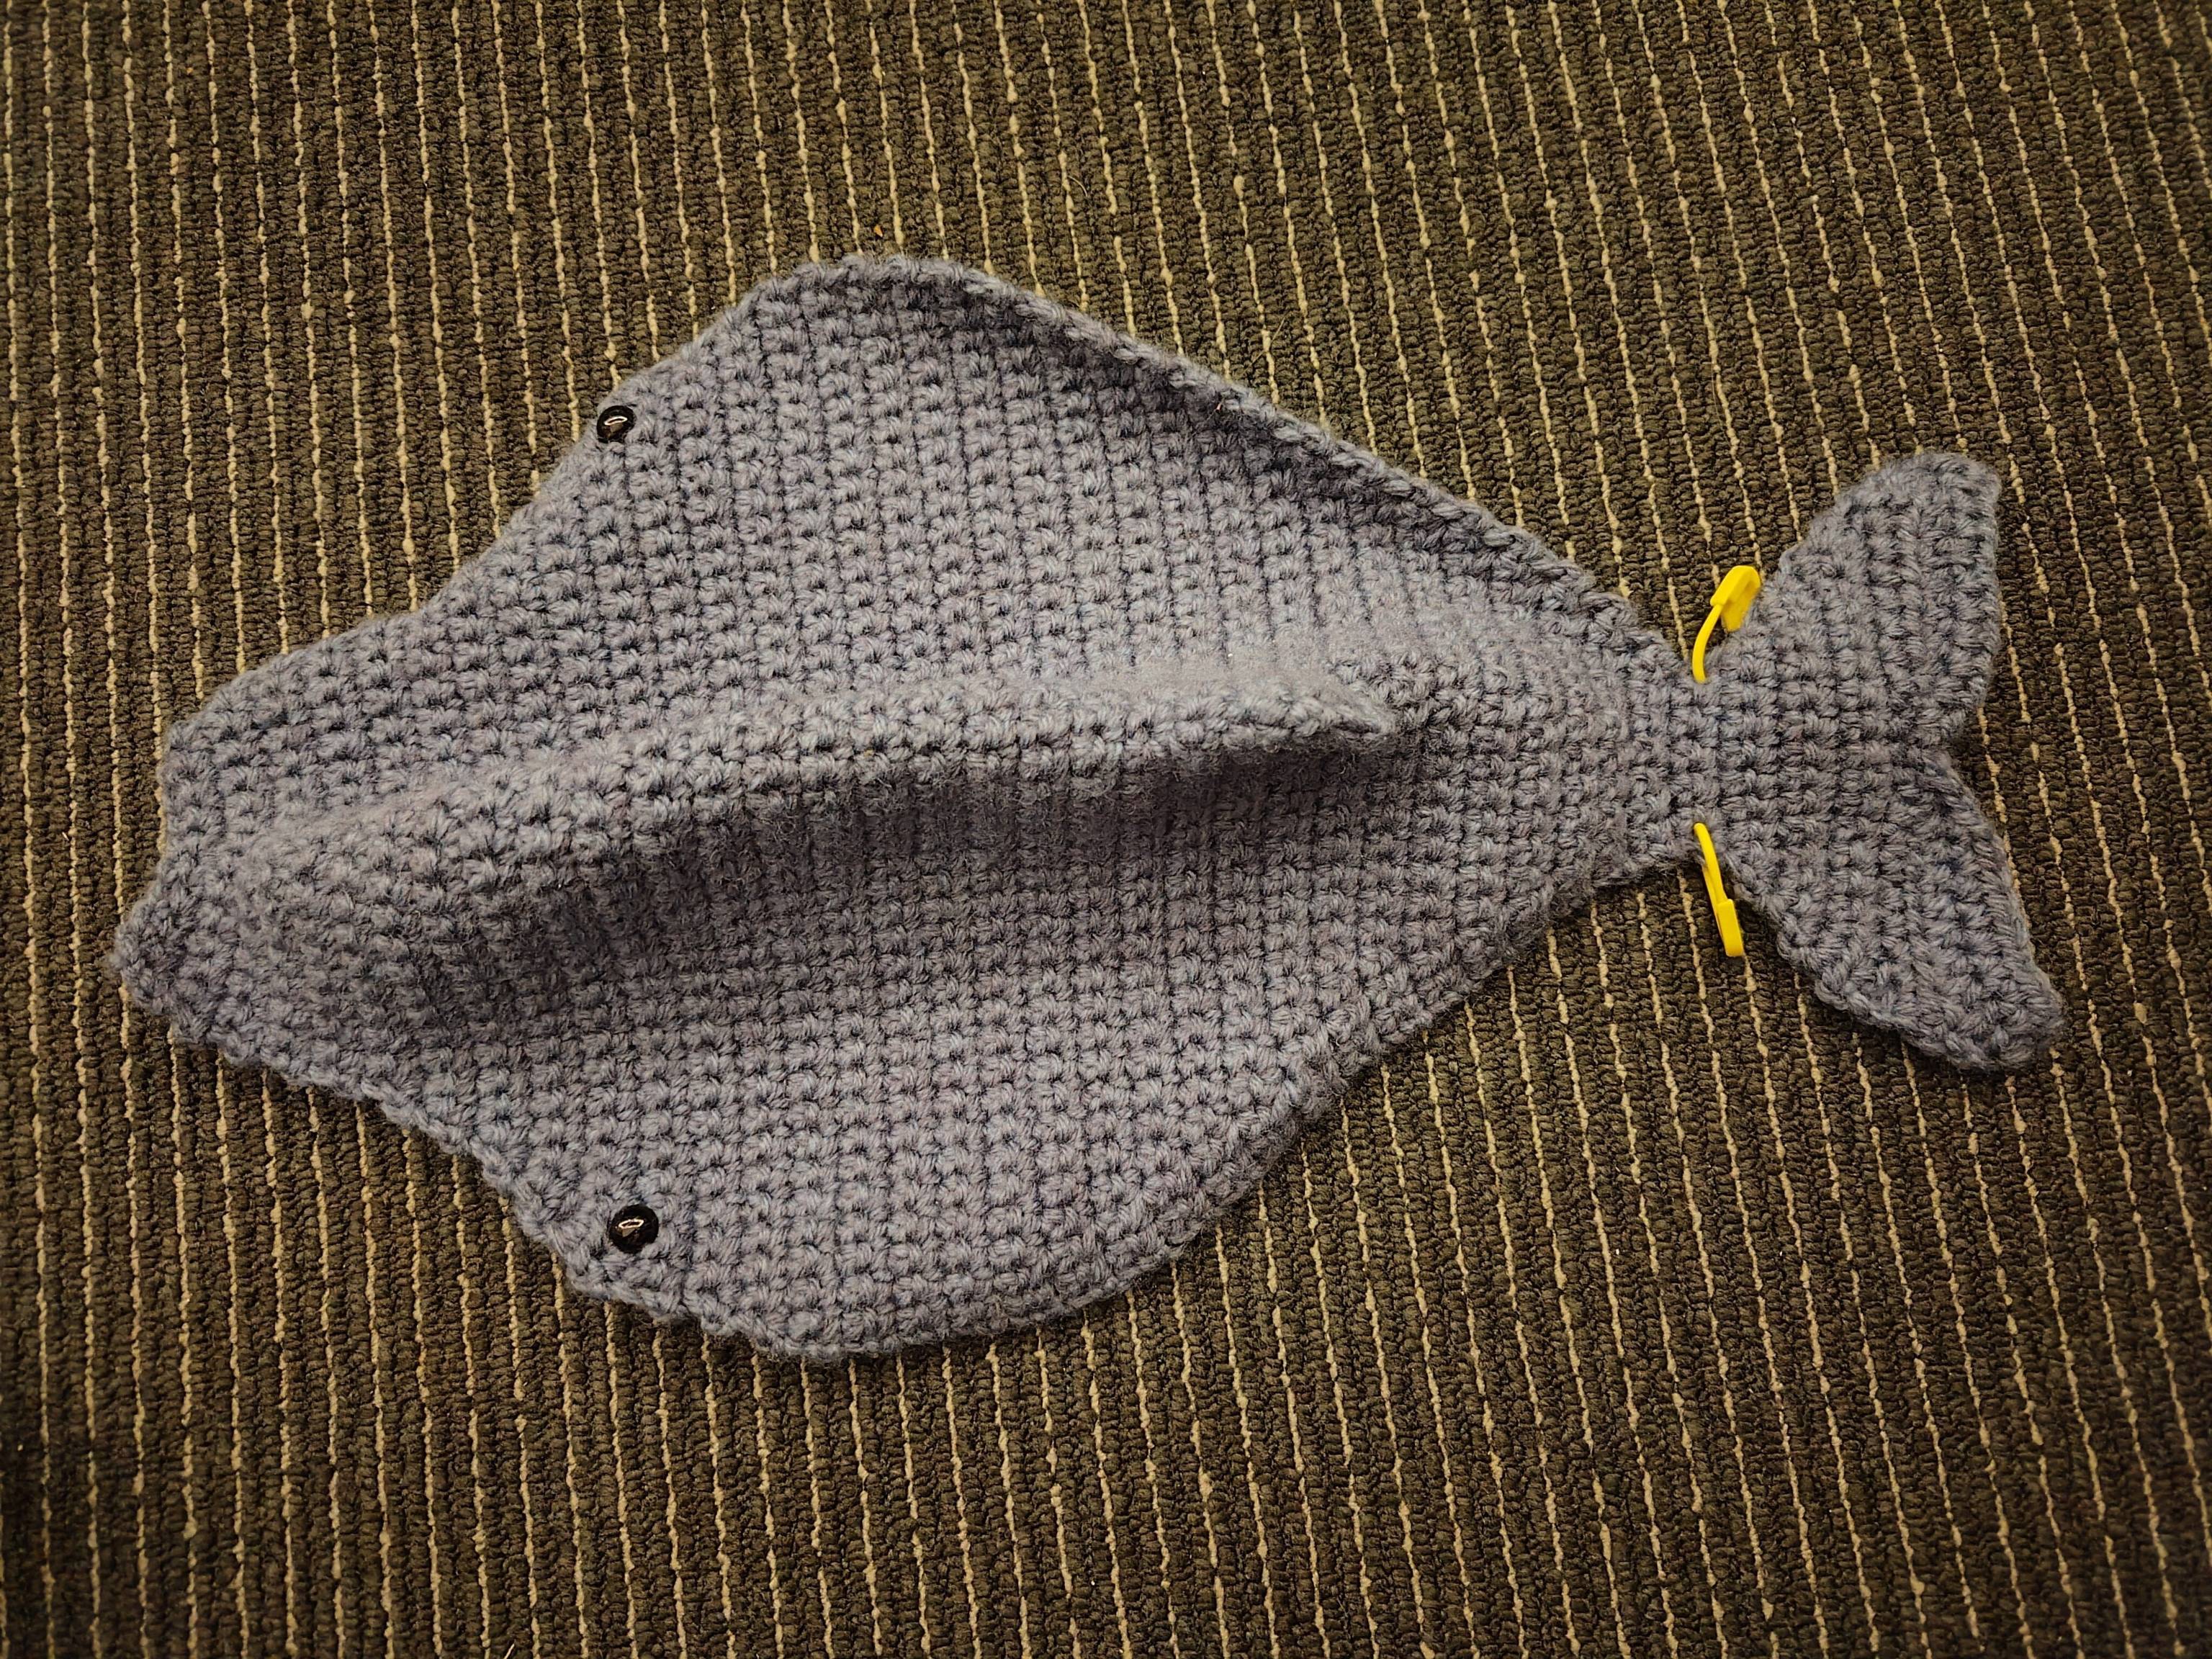
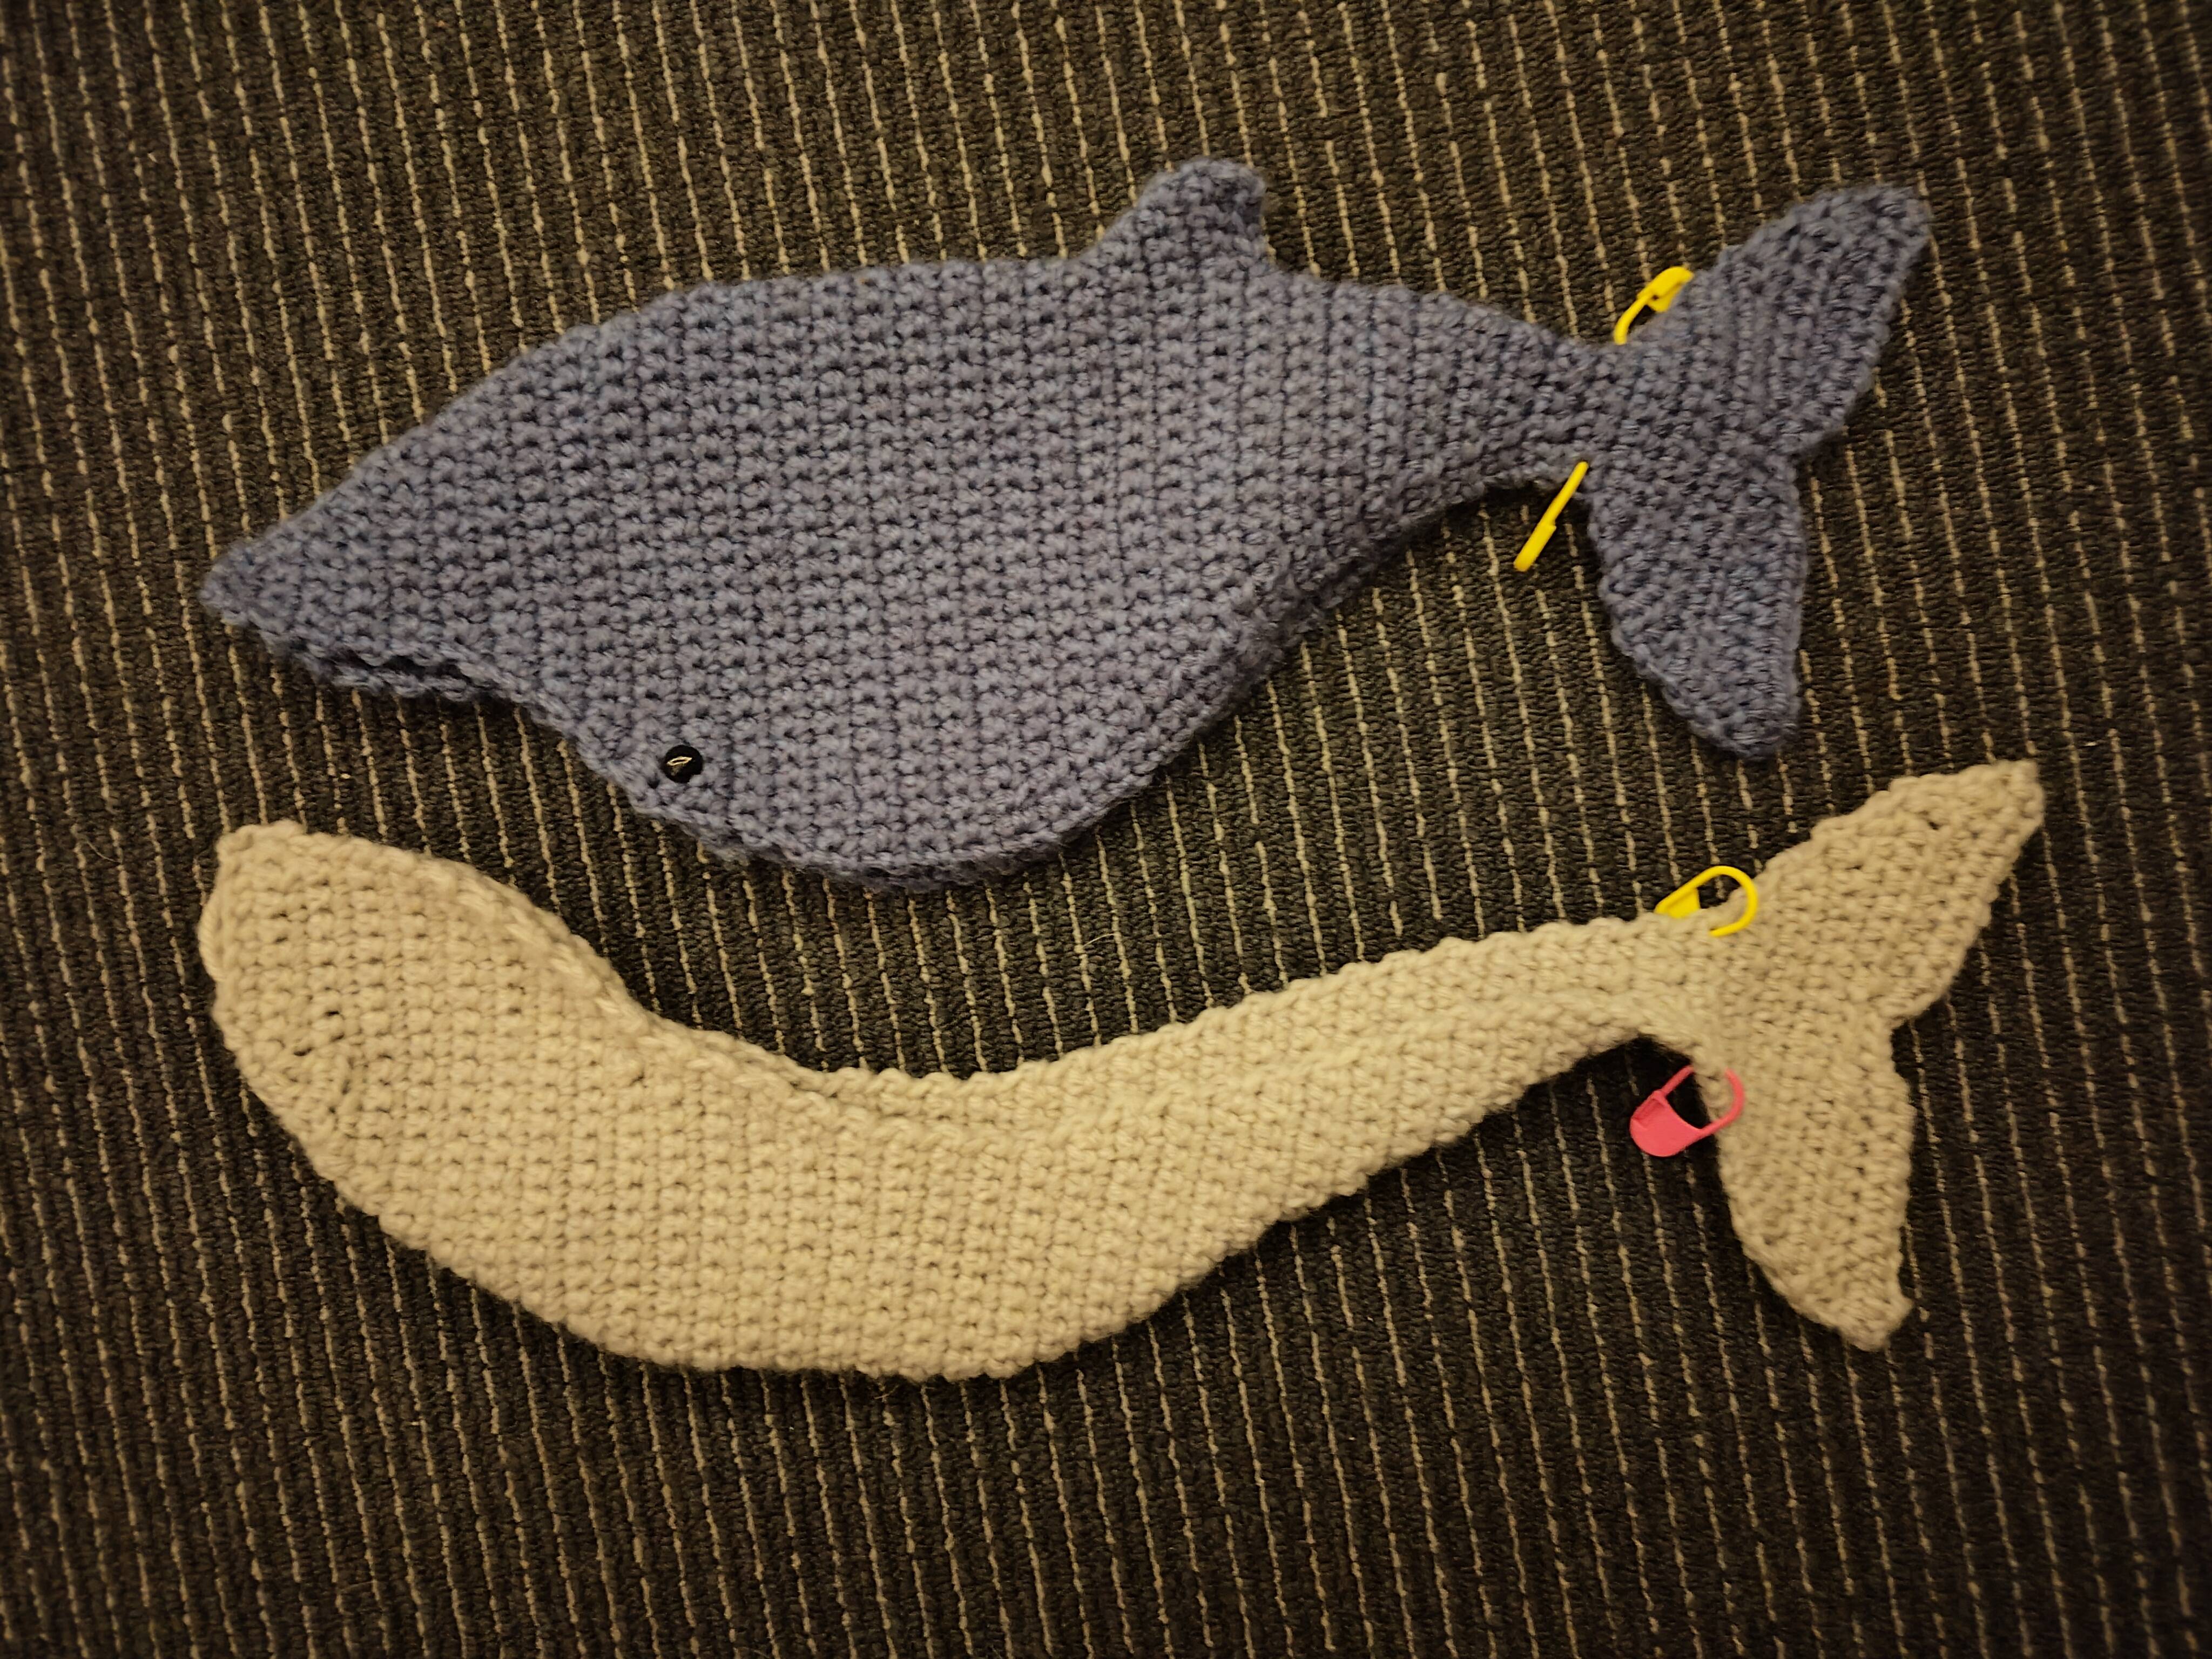
The whale is assembled from six pieces; a top half (to which the eyes are attached), a bottom half, and two fins, each of which also has a top and bottom layer. I added a seventh, which we'll see in a moment. It is essentially two glorified scarves attached at the edges; the only flair is shaping the dorsal fin (which I thought was very clever) and attaching the pectoral fins. That said, I did make some mistakes which I'll also get to later.
The body
The body of the whale is fairly straightforward. It's worked in rows, with form being given by carefully placed increases and decreases.
The dorsal fin is shaped by placing a series of increases in the midline until there are a) enough and b) an even amount of stitches in the row. At this point, the row is worked as usual up to the first 'fin' stitch, the fin folded in half, and slip stitched to join its rear edge into one vertical seam. The rest of the row is crocheted across the base of the fin, closing it off and reducing the row size by the amount of fin stitches (if this makes no sense at all, it is my fault alone. The pattern includes a video of the process). The next row is just worked across as normal, and the rows continue.
This gives it a very pleasant result; it's rounded at the front and tapers to a sharp edge at the back. I thought it was a clever way of forming the right shape, and it was satisfying to work across the final row to see it come together in one elegant step.
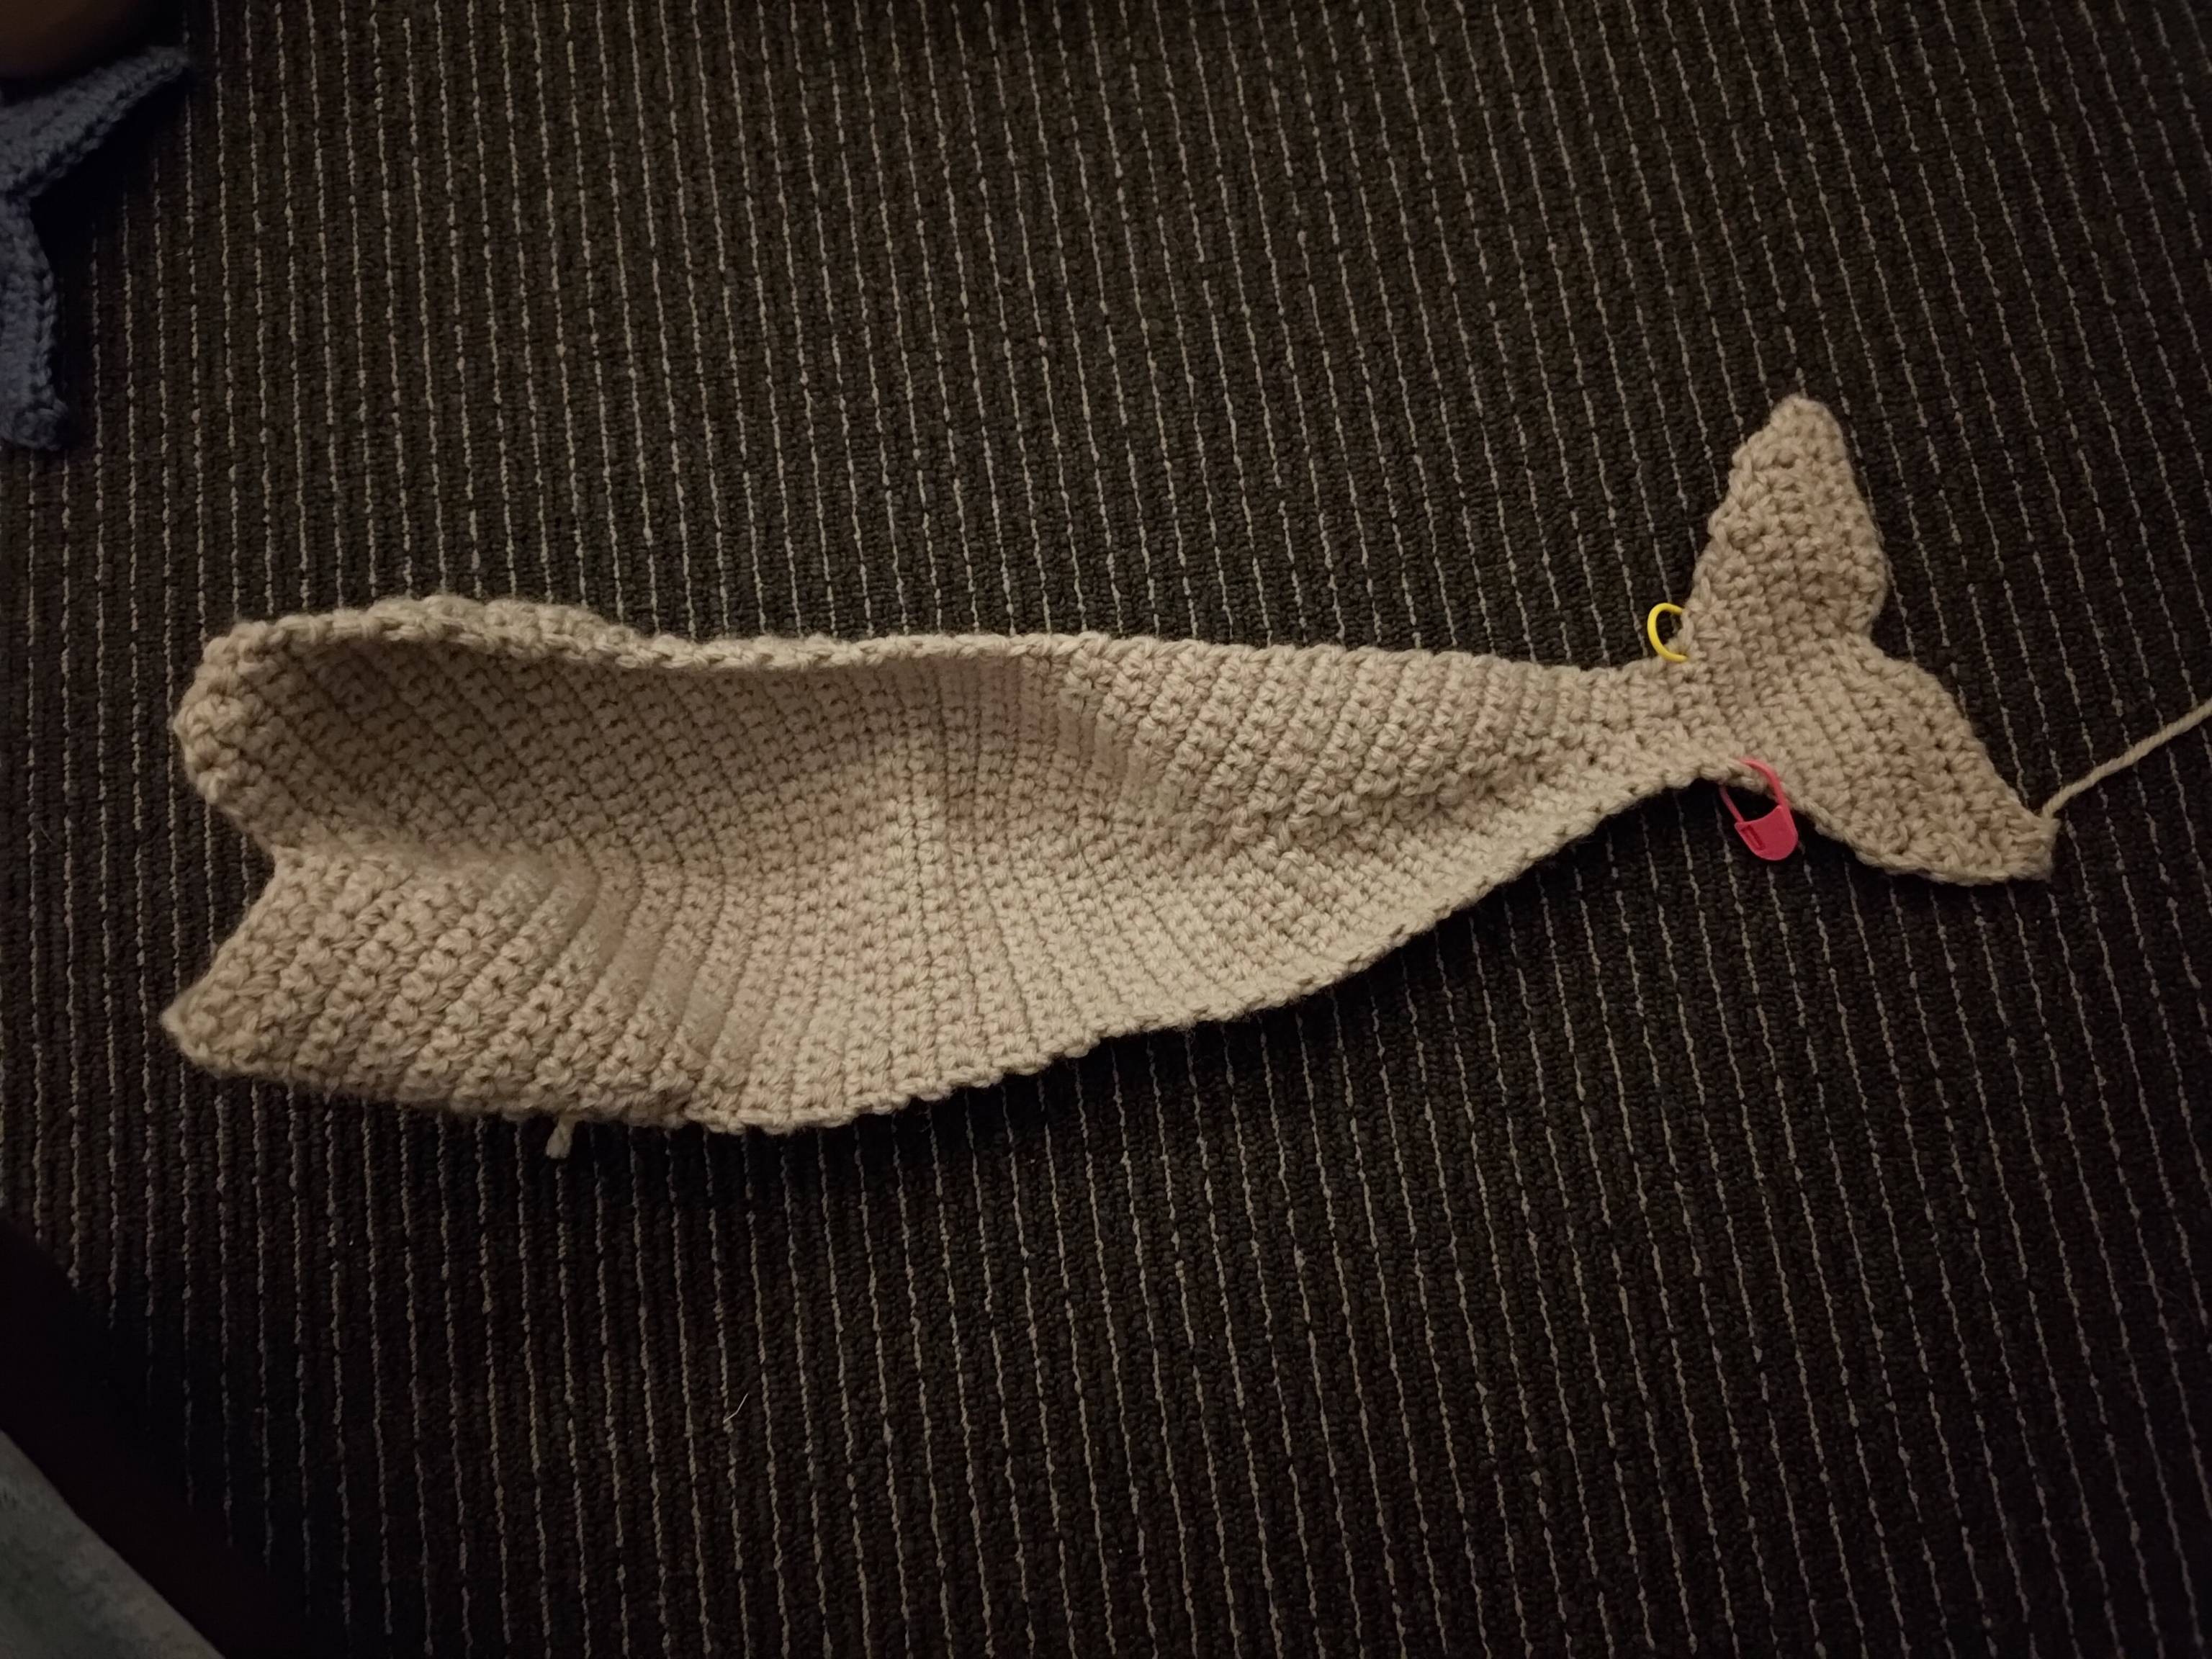
The bottom is much the same process as the top, only in a different colour and minus the construction of a fin. Before assembly, safety eyes are placed in the second stitch from either edge of the twenty-first row of the top half, and the flat front edge of each half is folded and stitched together. The only other thing I feel is worth noting is the shape of the tail, which is very well done and once again is simply constructed from increases and decreases (granted, many at once) and then some slip stitches to create the divot at the back.
The pectoral fins (and a secret seventh component)
There's not much to say about the fins; they're also worked in rows and shaped by increases and decreases. The pattern is the same for all of the fin components, you just make two in each colour and then slip stitch two pairs together to yield a left and right copy.
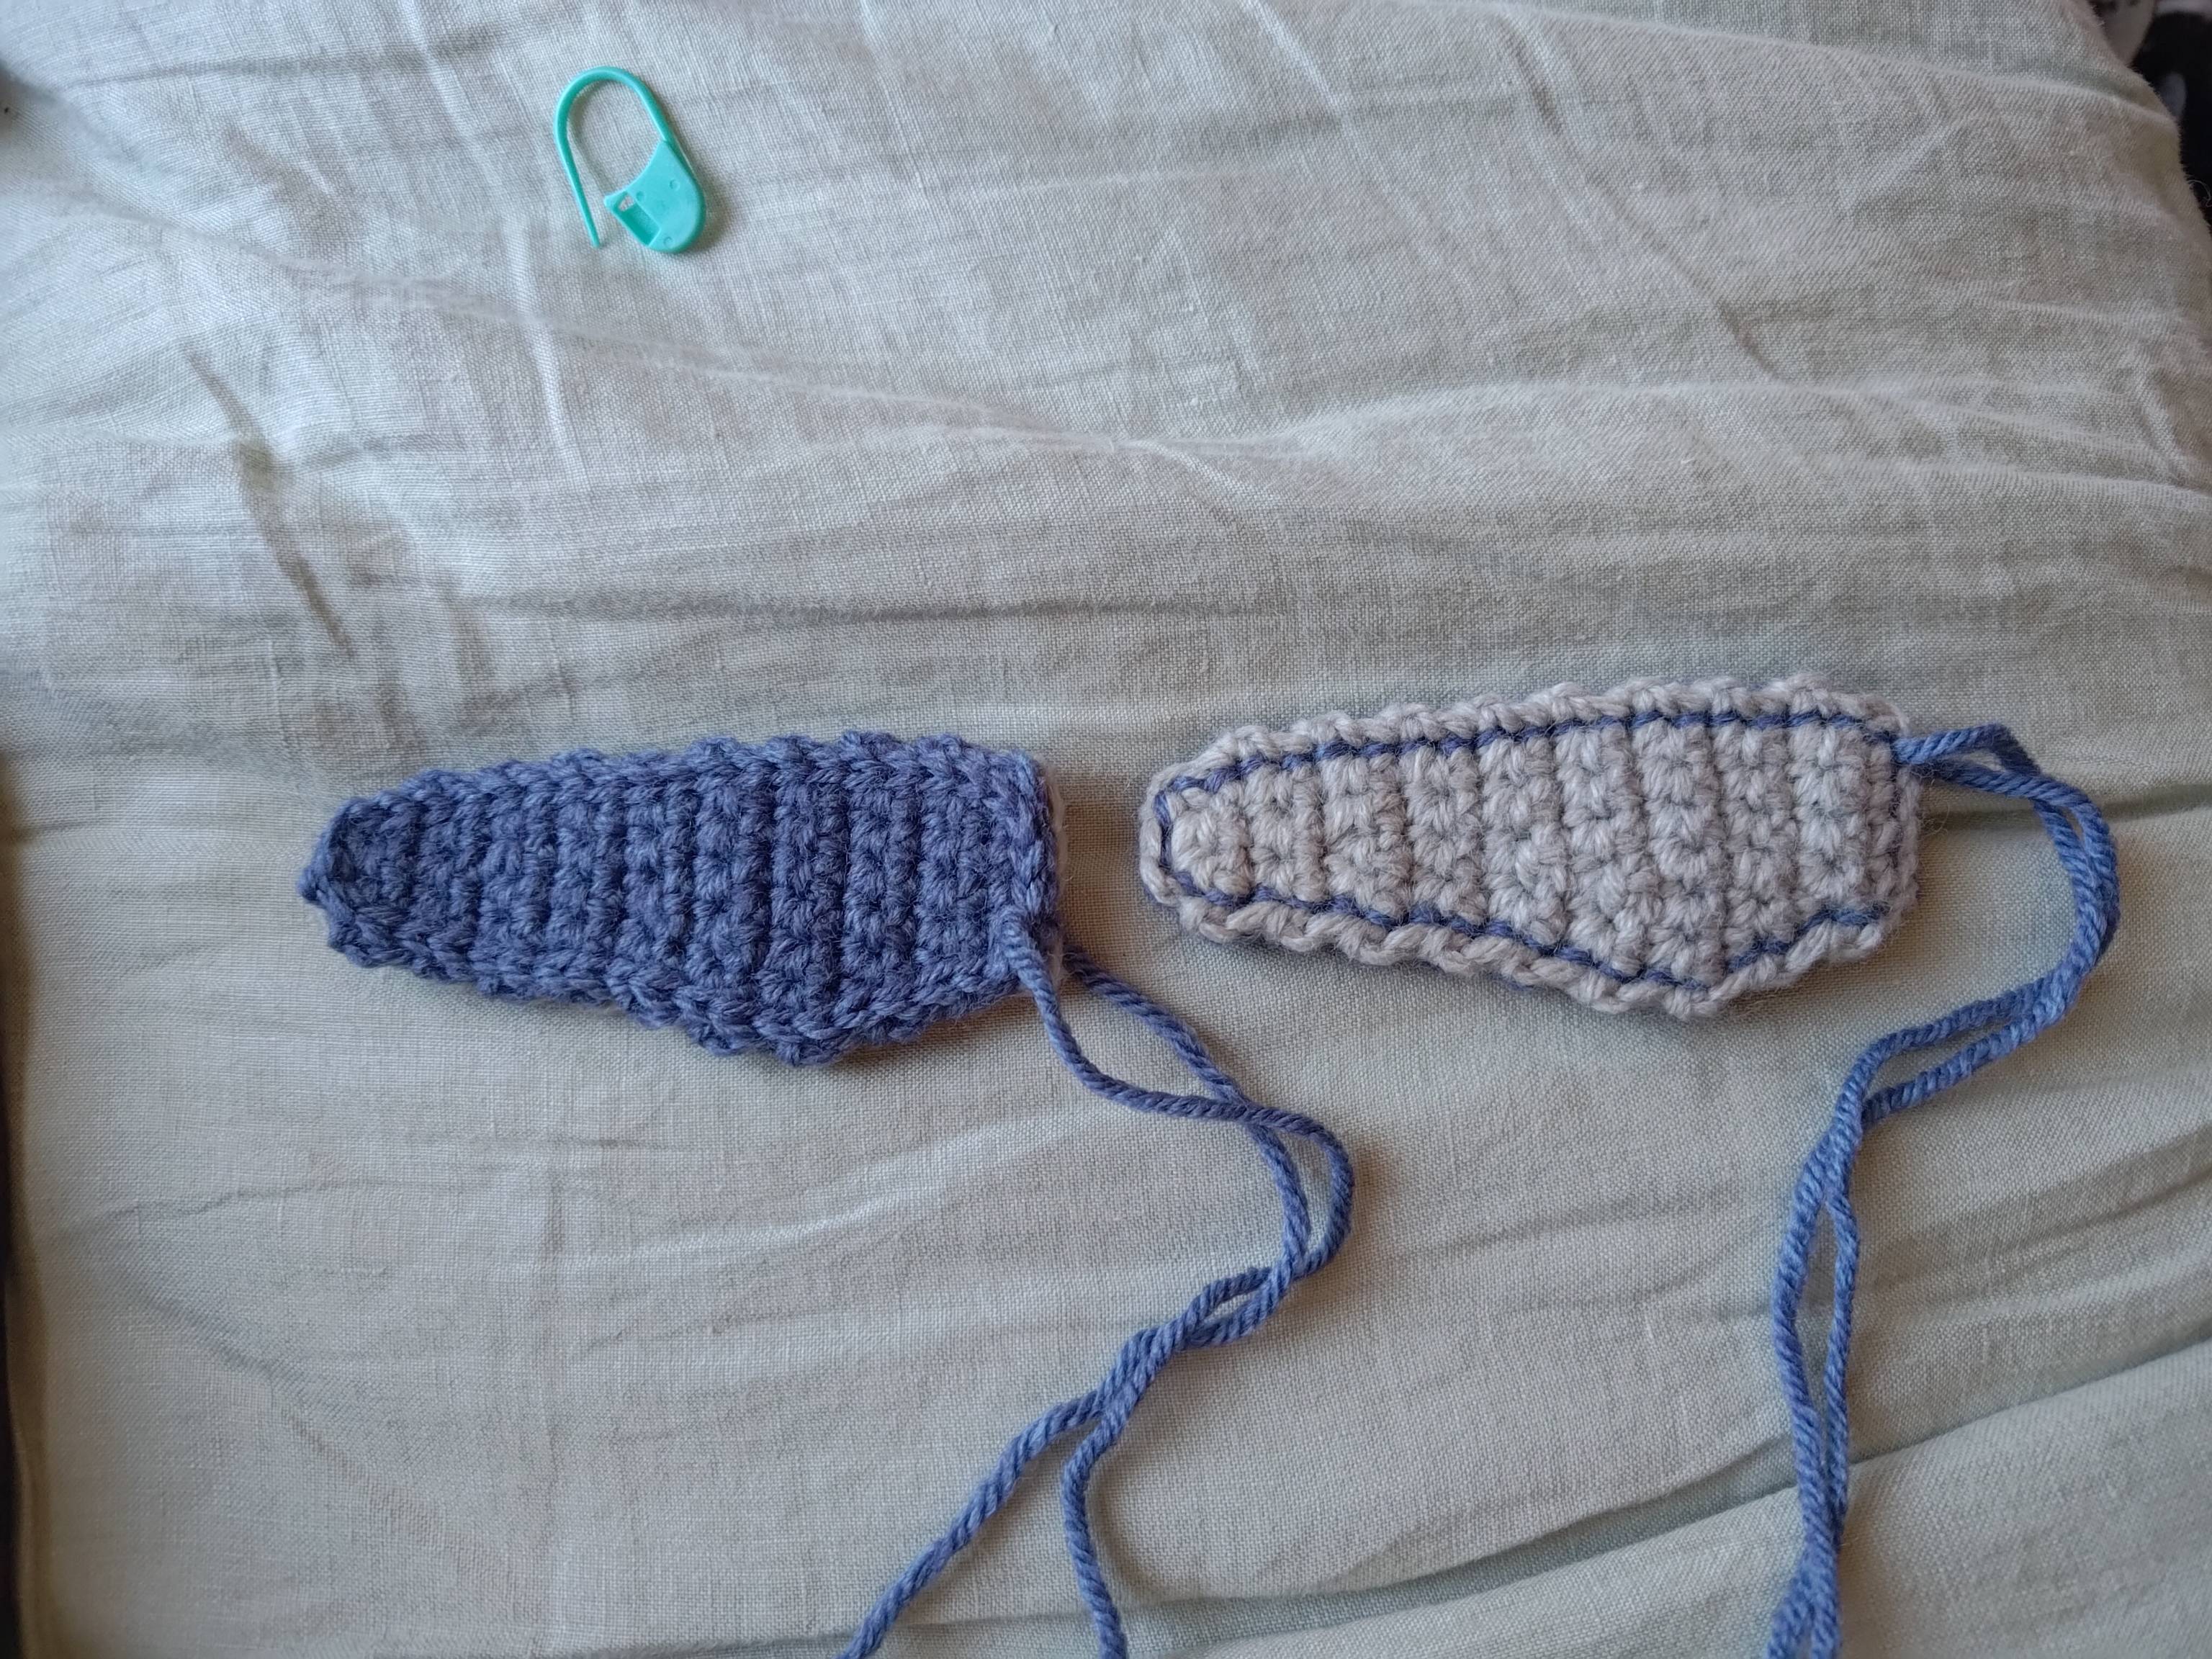
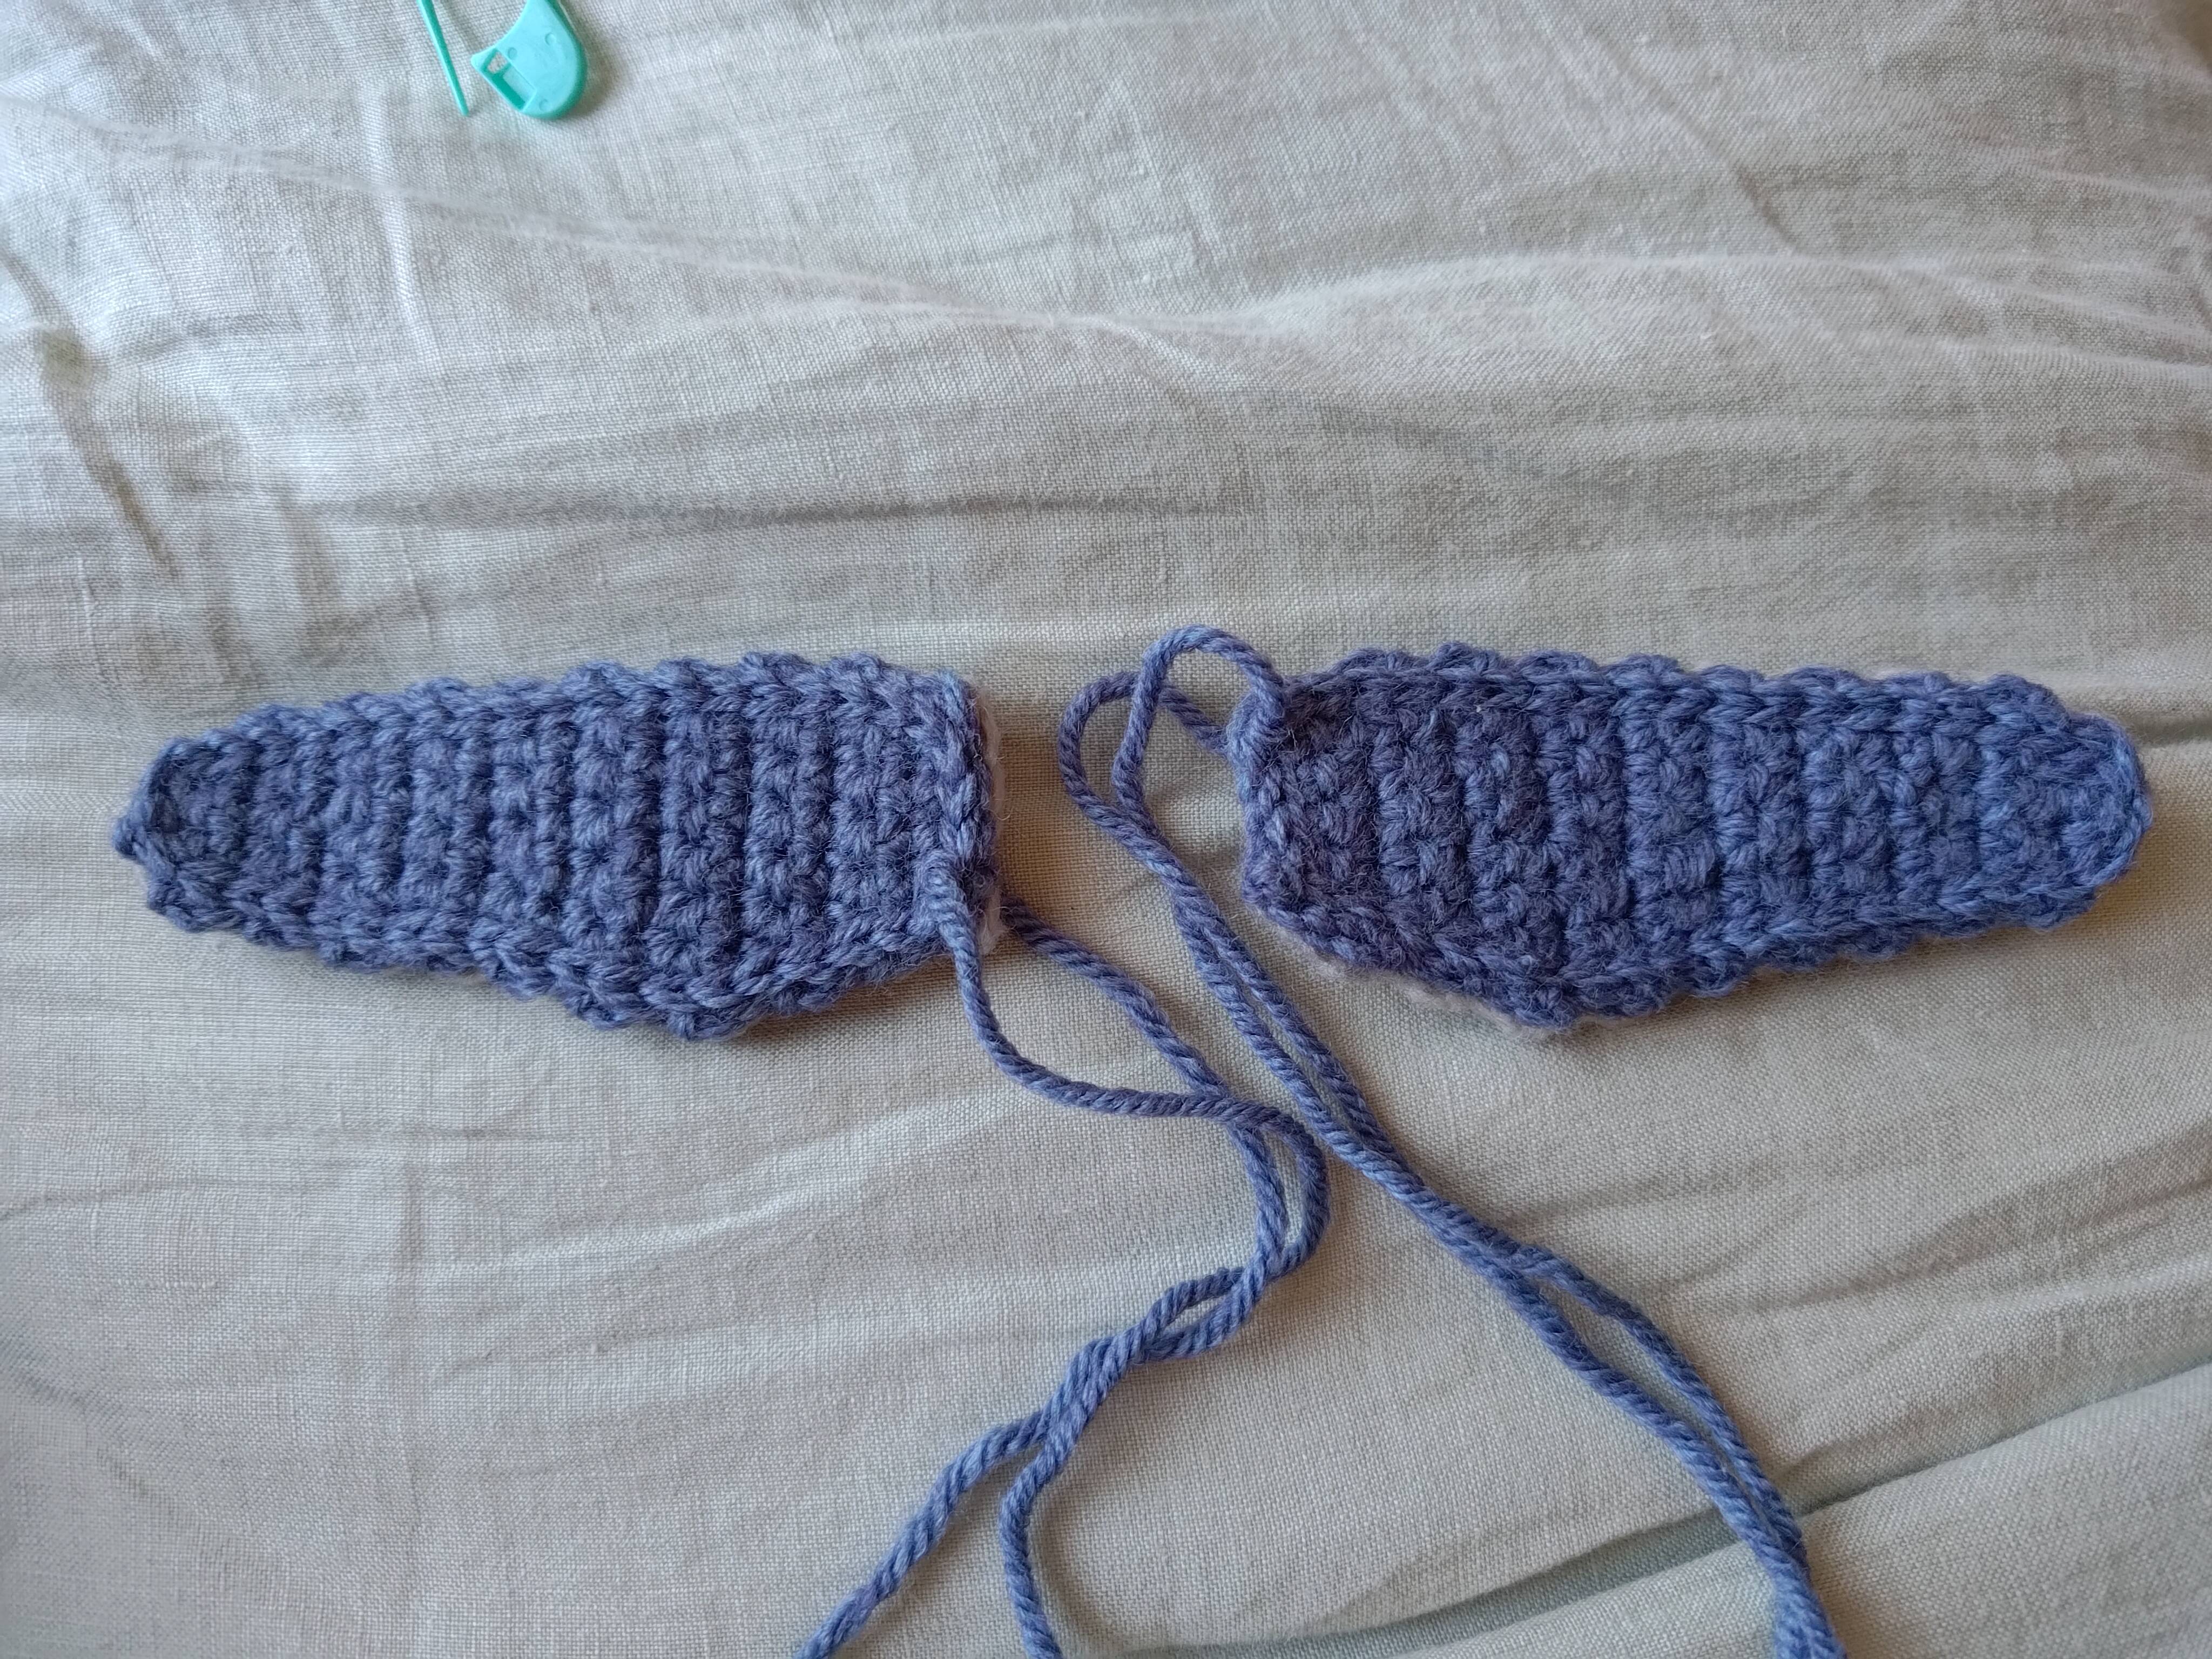
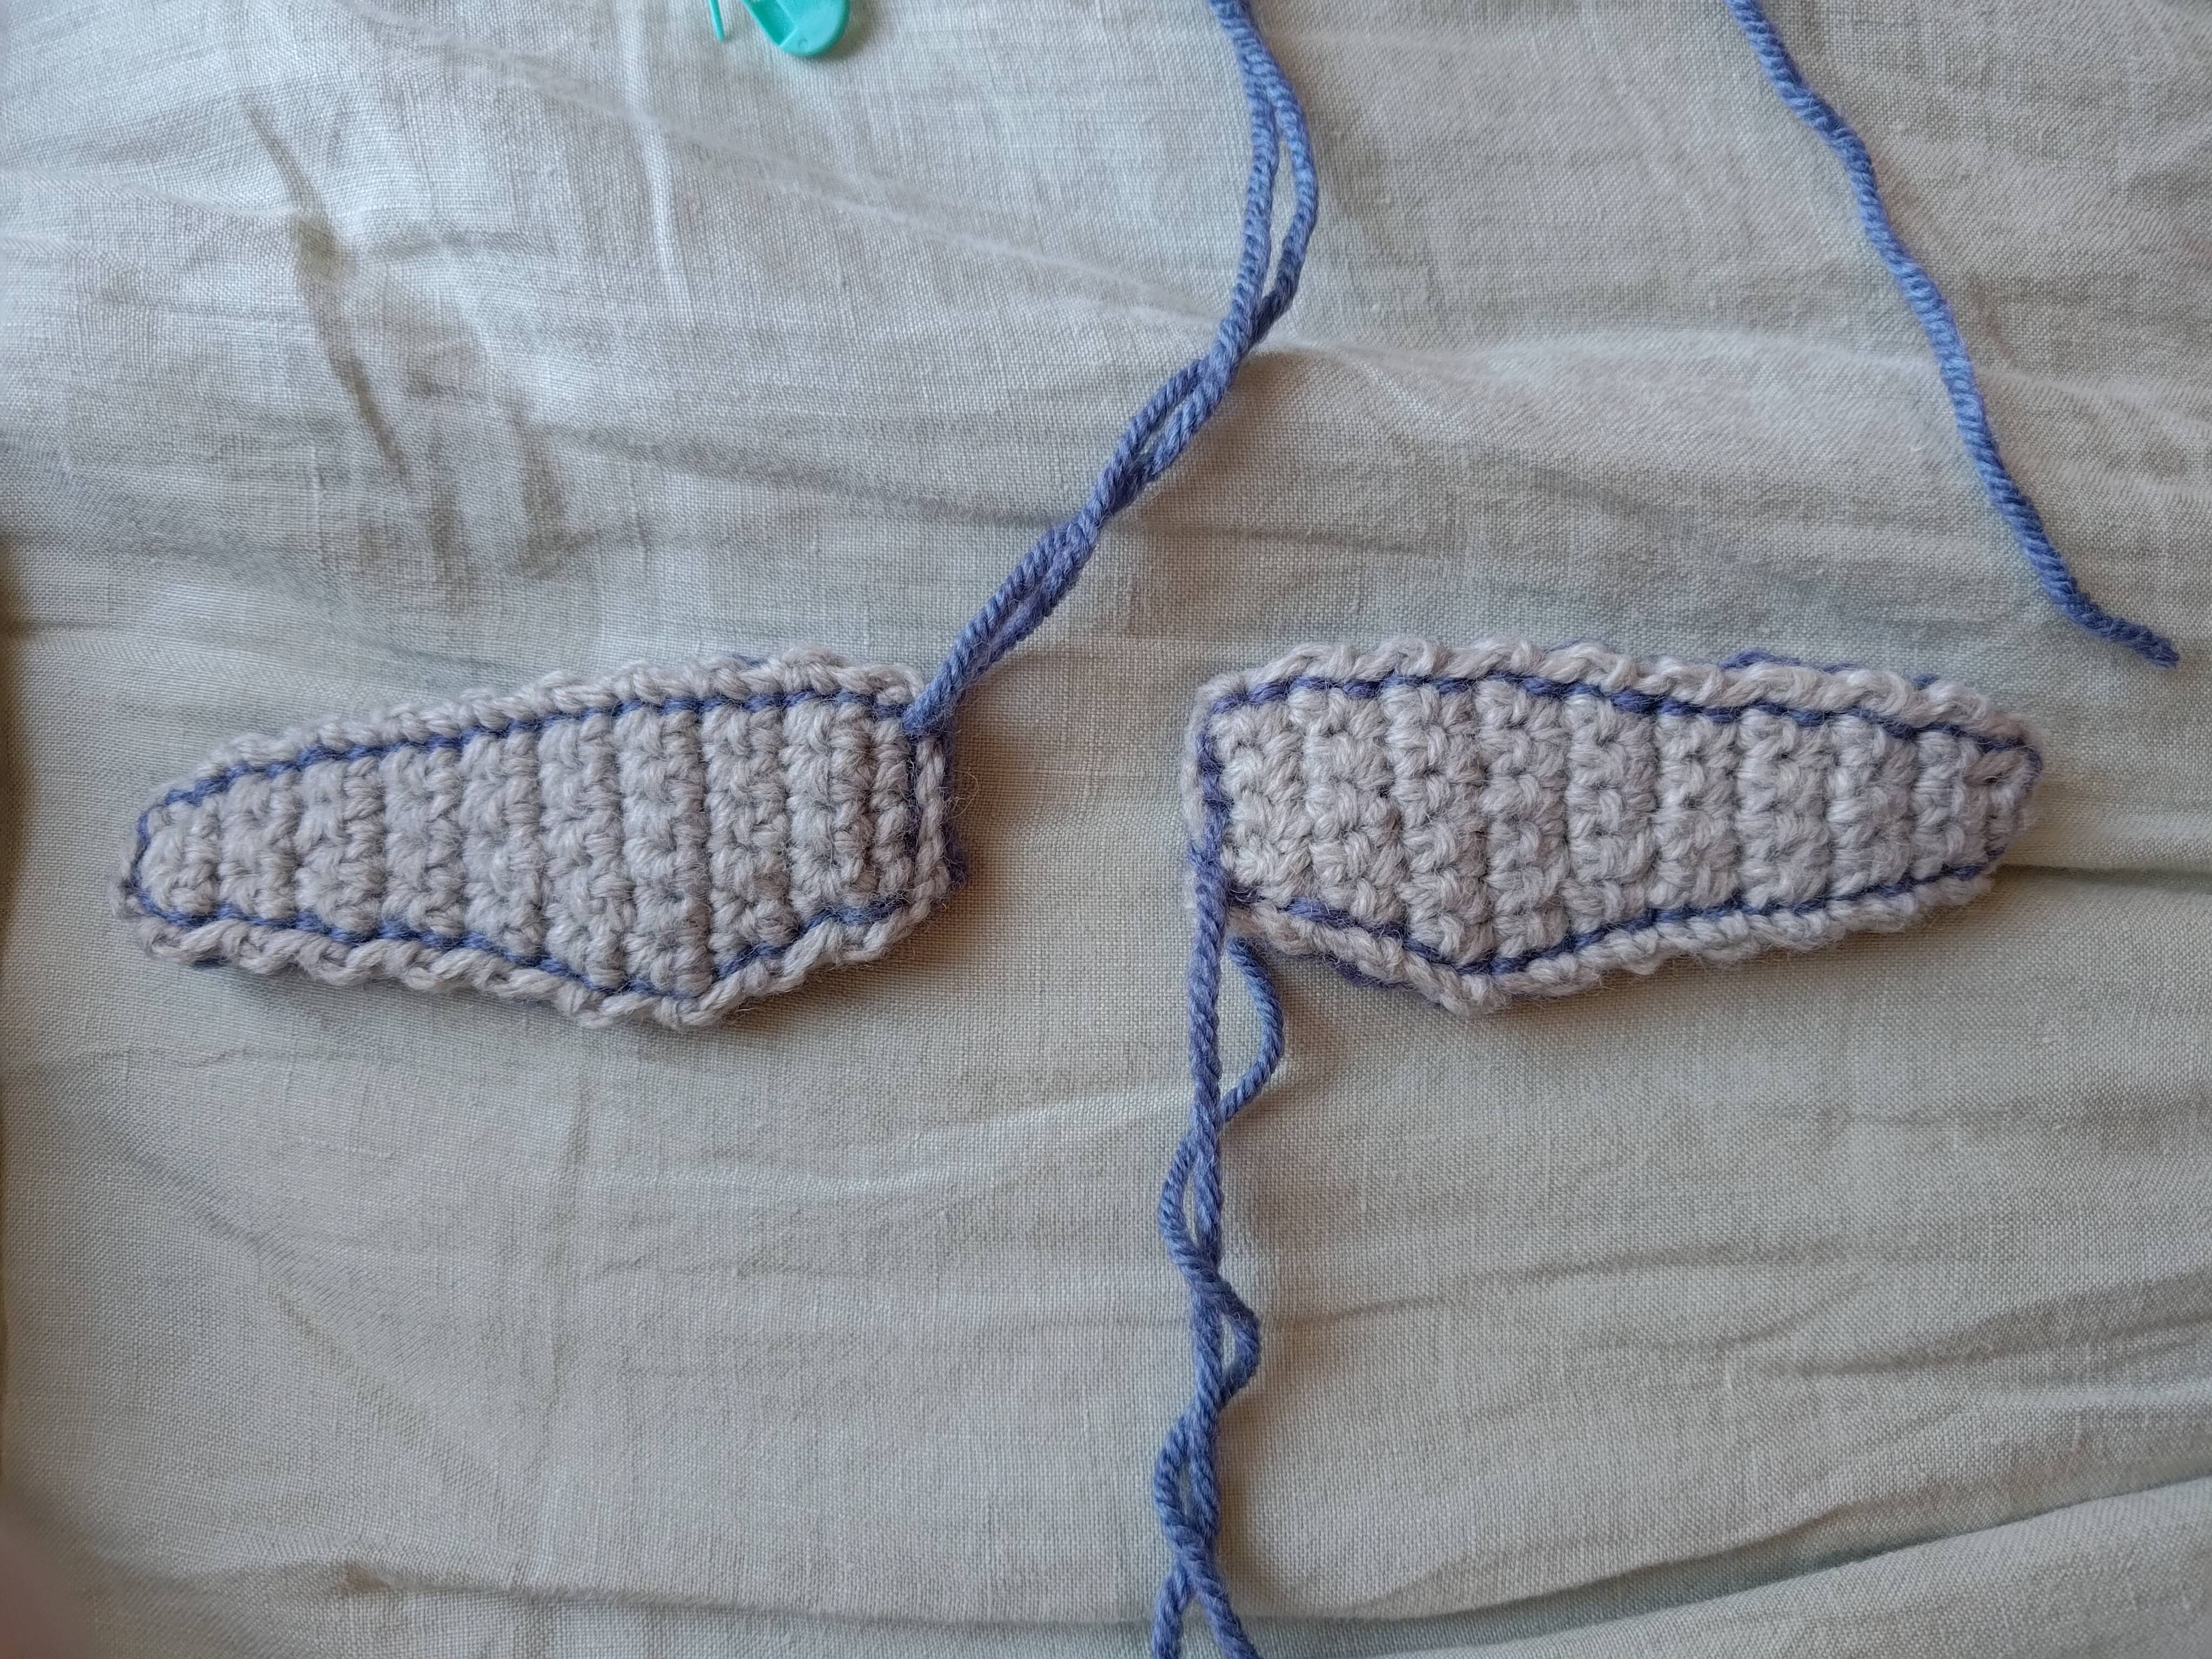
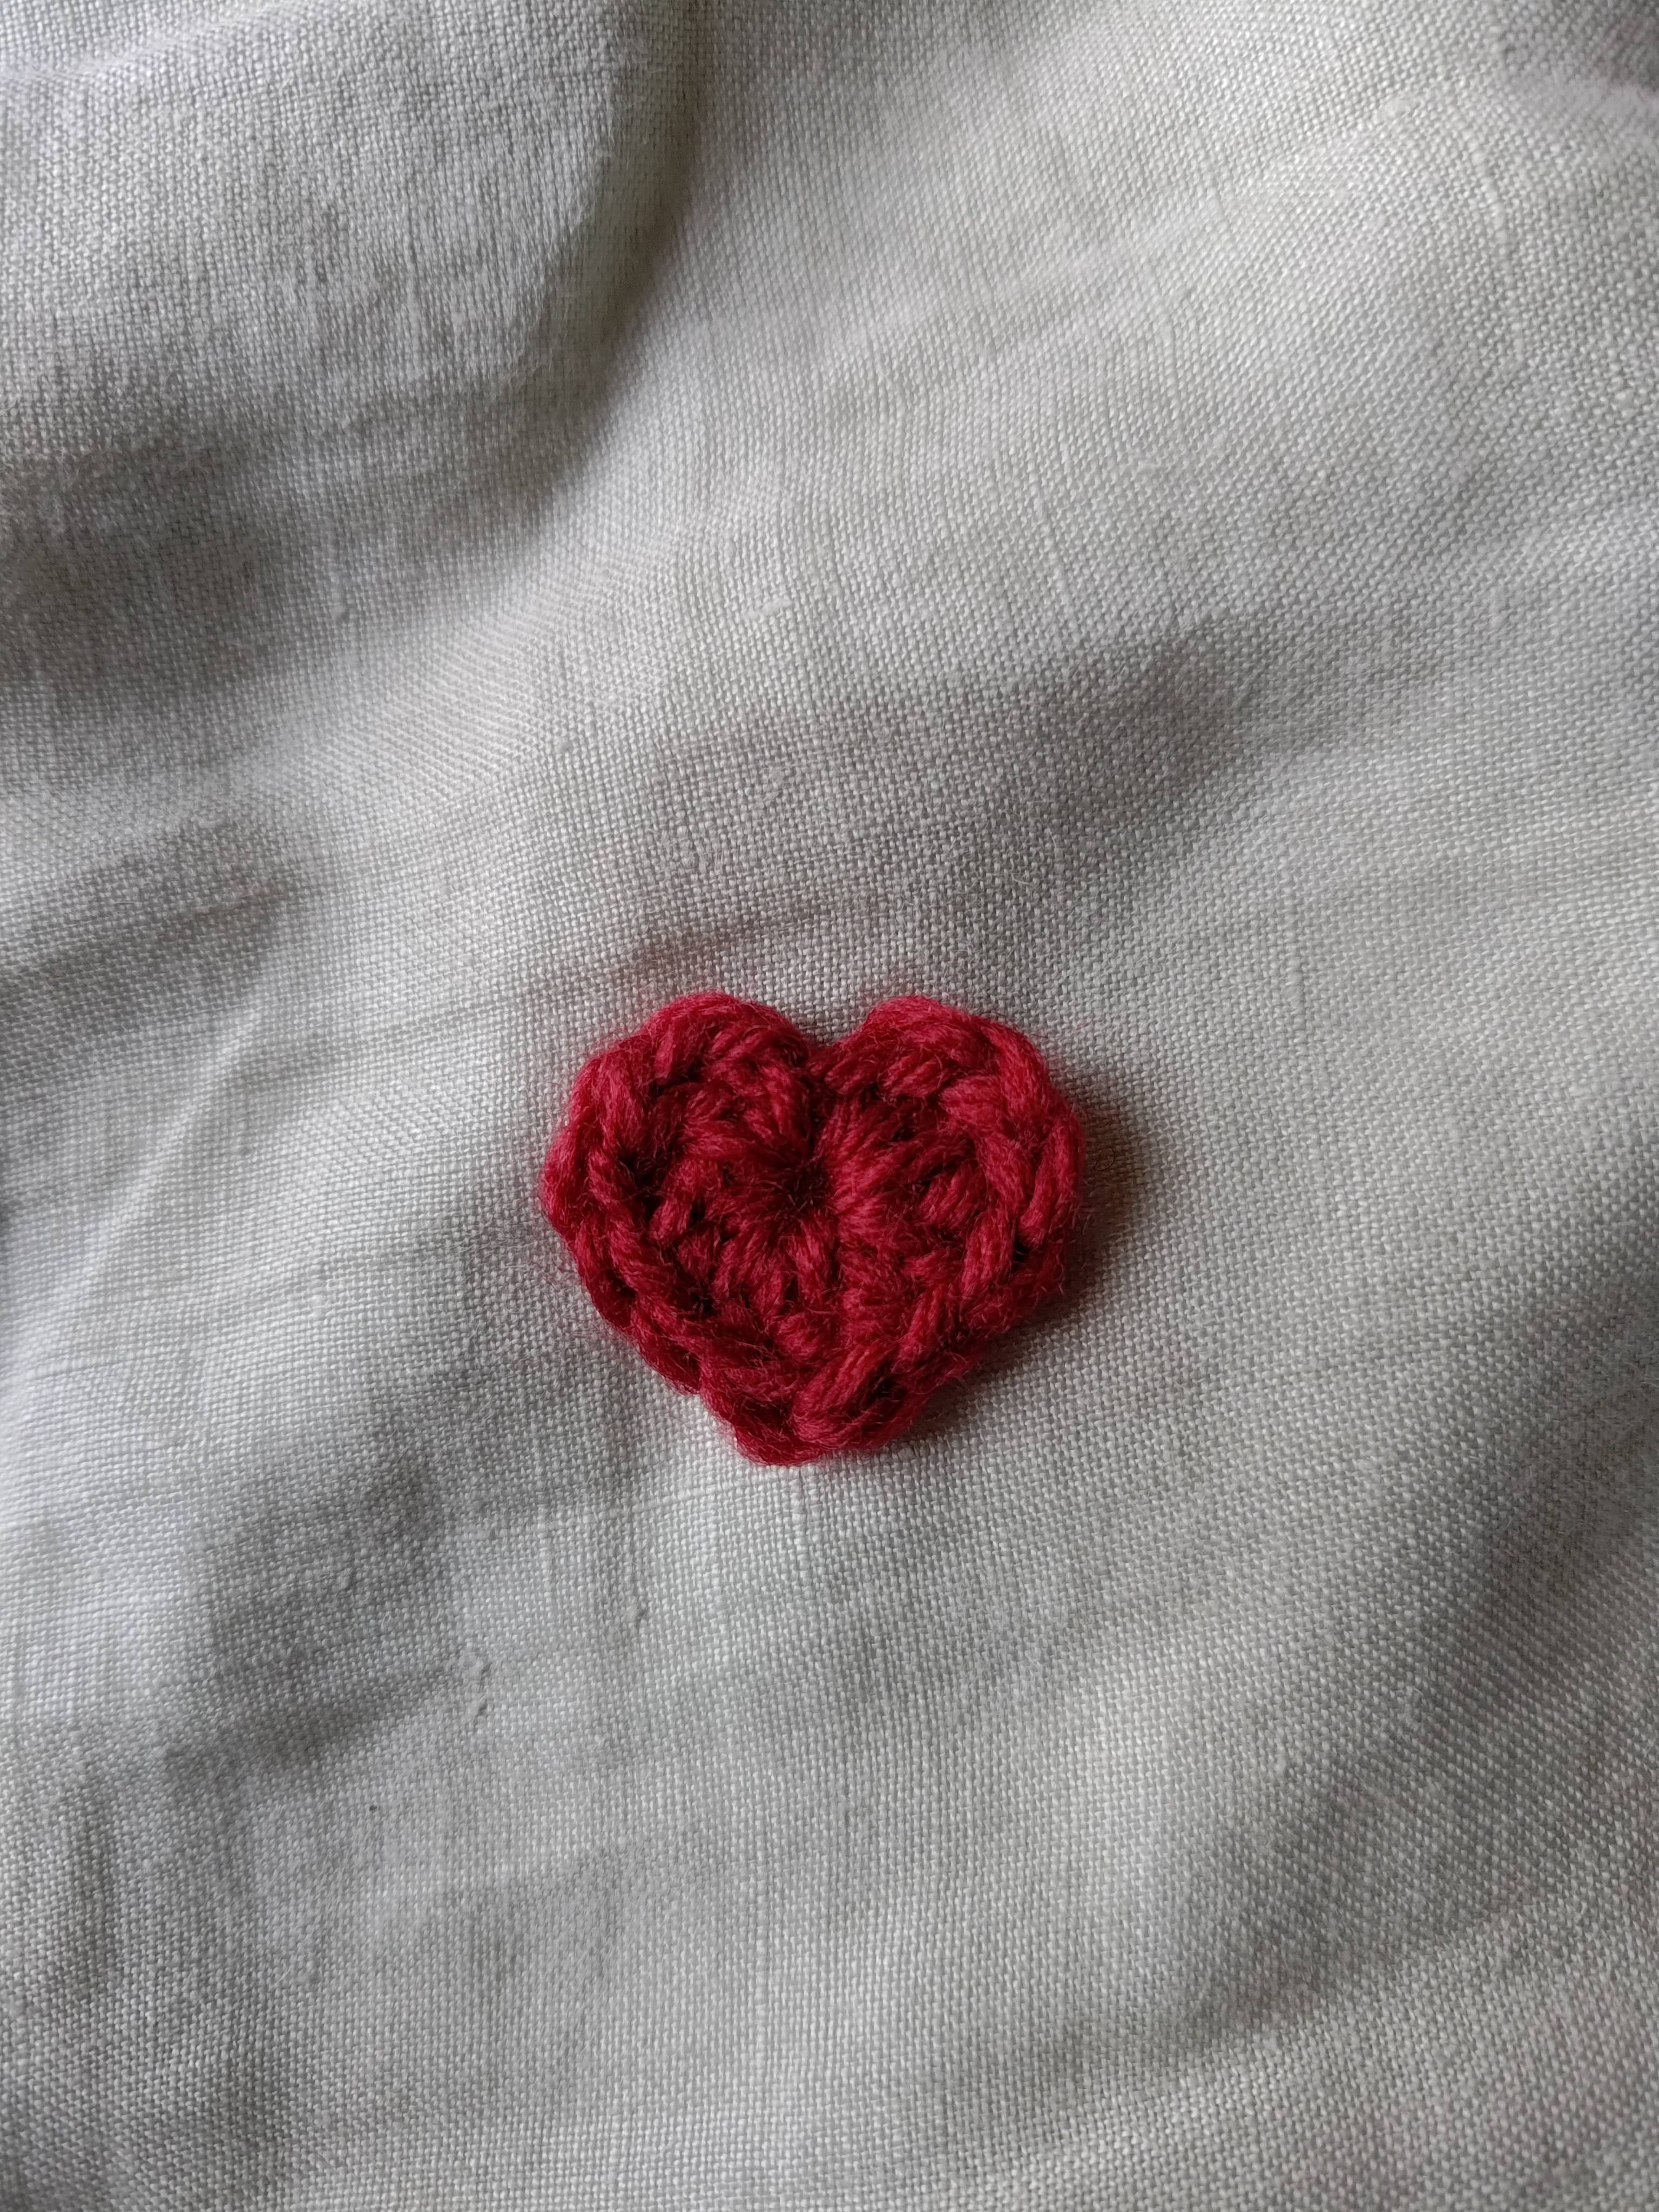
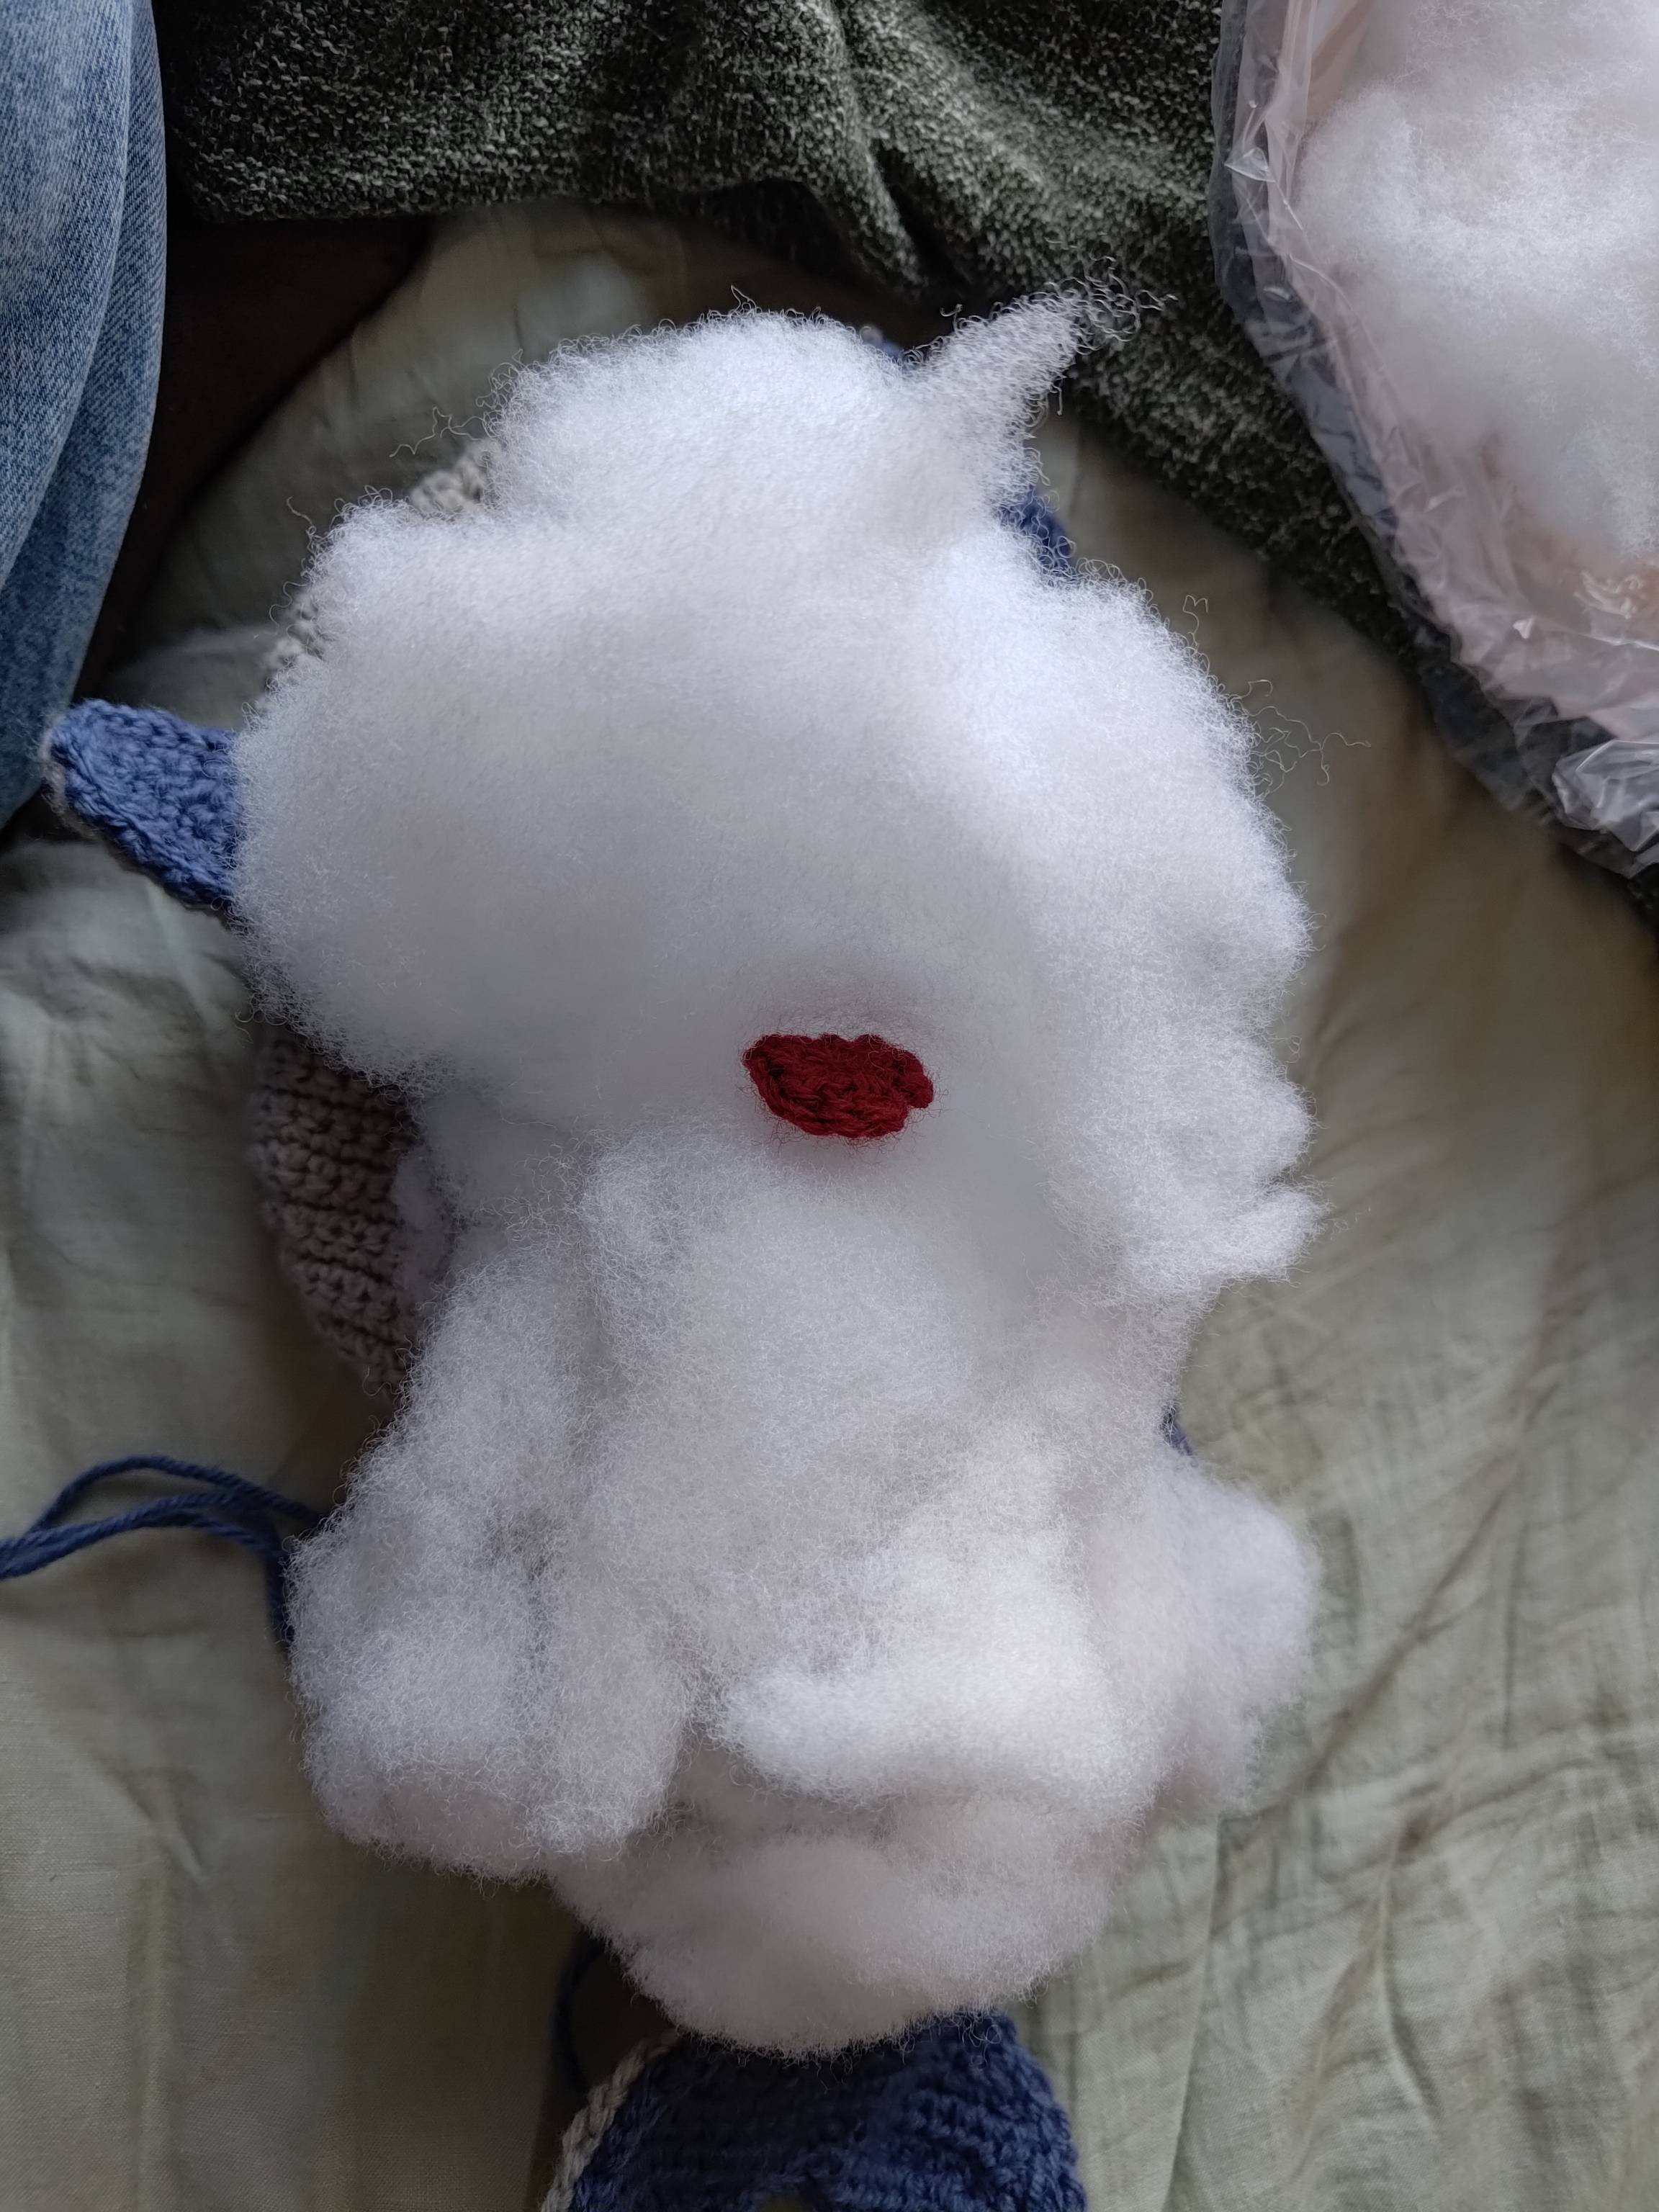
Before assembly, I wanted to add a personal touch. I found this pattern and used some spare red yarn to give our whale a heart.
Assembly
The assembly was by far the hardest part of this project. The two halves of the body are joined on the (whale's) left side at the 'neck' of the tail (see the pink stitch marker on the bottom half from earlier), which is slip stitched around the back to the right side of the tail. Mattress stitches (a new one to me) connect the rest of the body, and are repeated until the twenty-eighth row, where they are also worked through the first row of the right pectoral fin. The mattress stitches continue all the way around until row twenty-four of the left side, where the left pectoral fin is worked in. The stitches are completed up to the first slip stitch that joins the tail, with a brief pause to stuff the creature (including the heart, in this case). Finishing the assembly just took a bit of poking and prodding to get the stuffing to sit right, and then weaving in all of the loose ends.
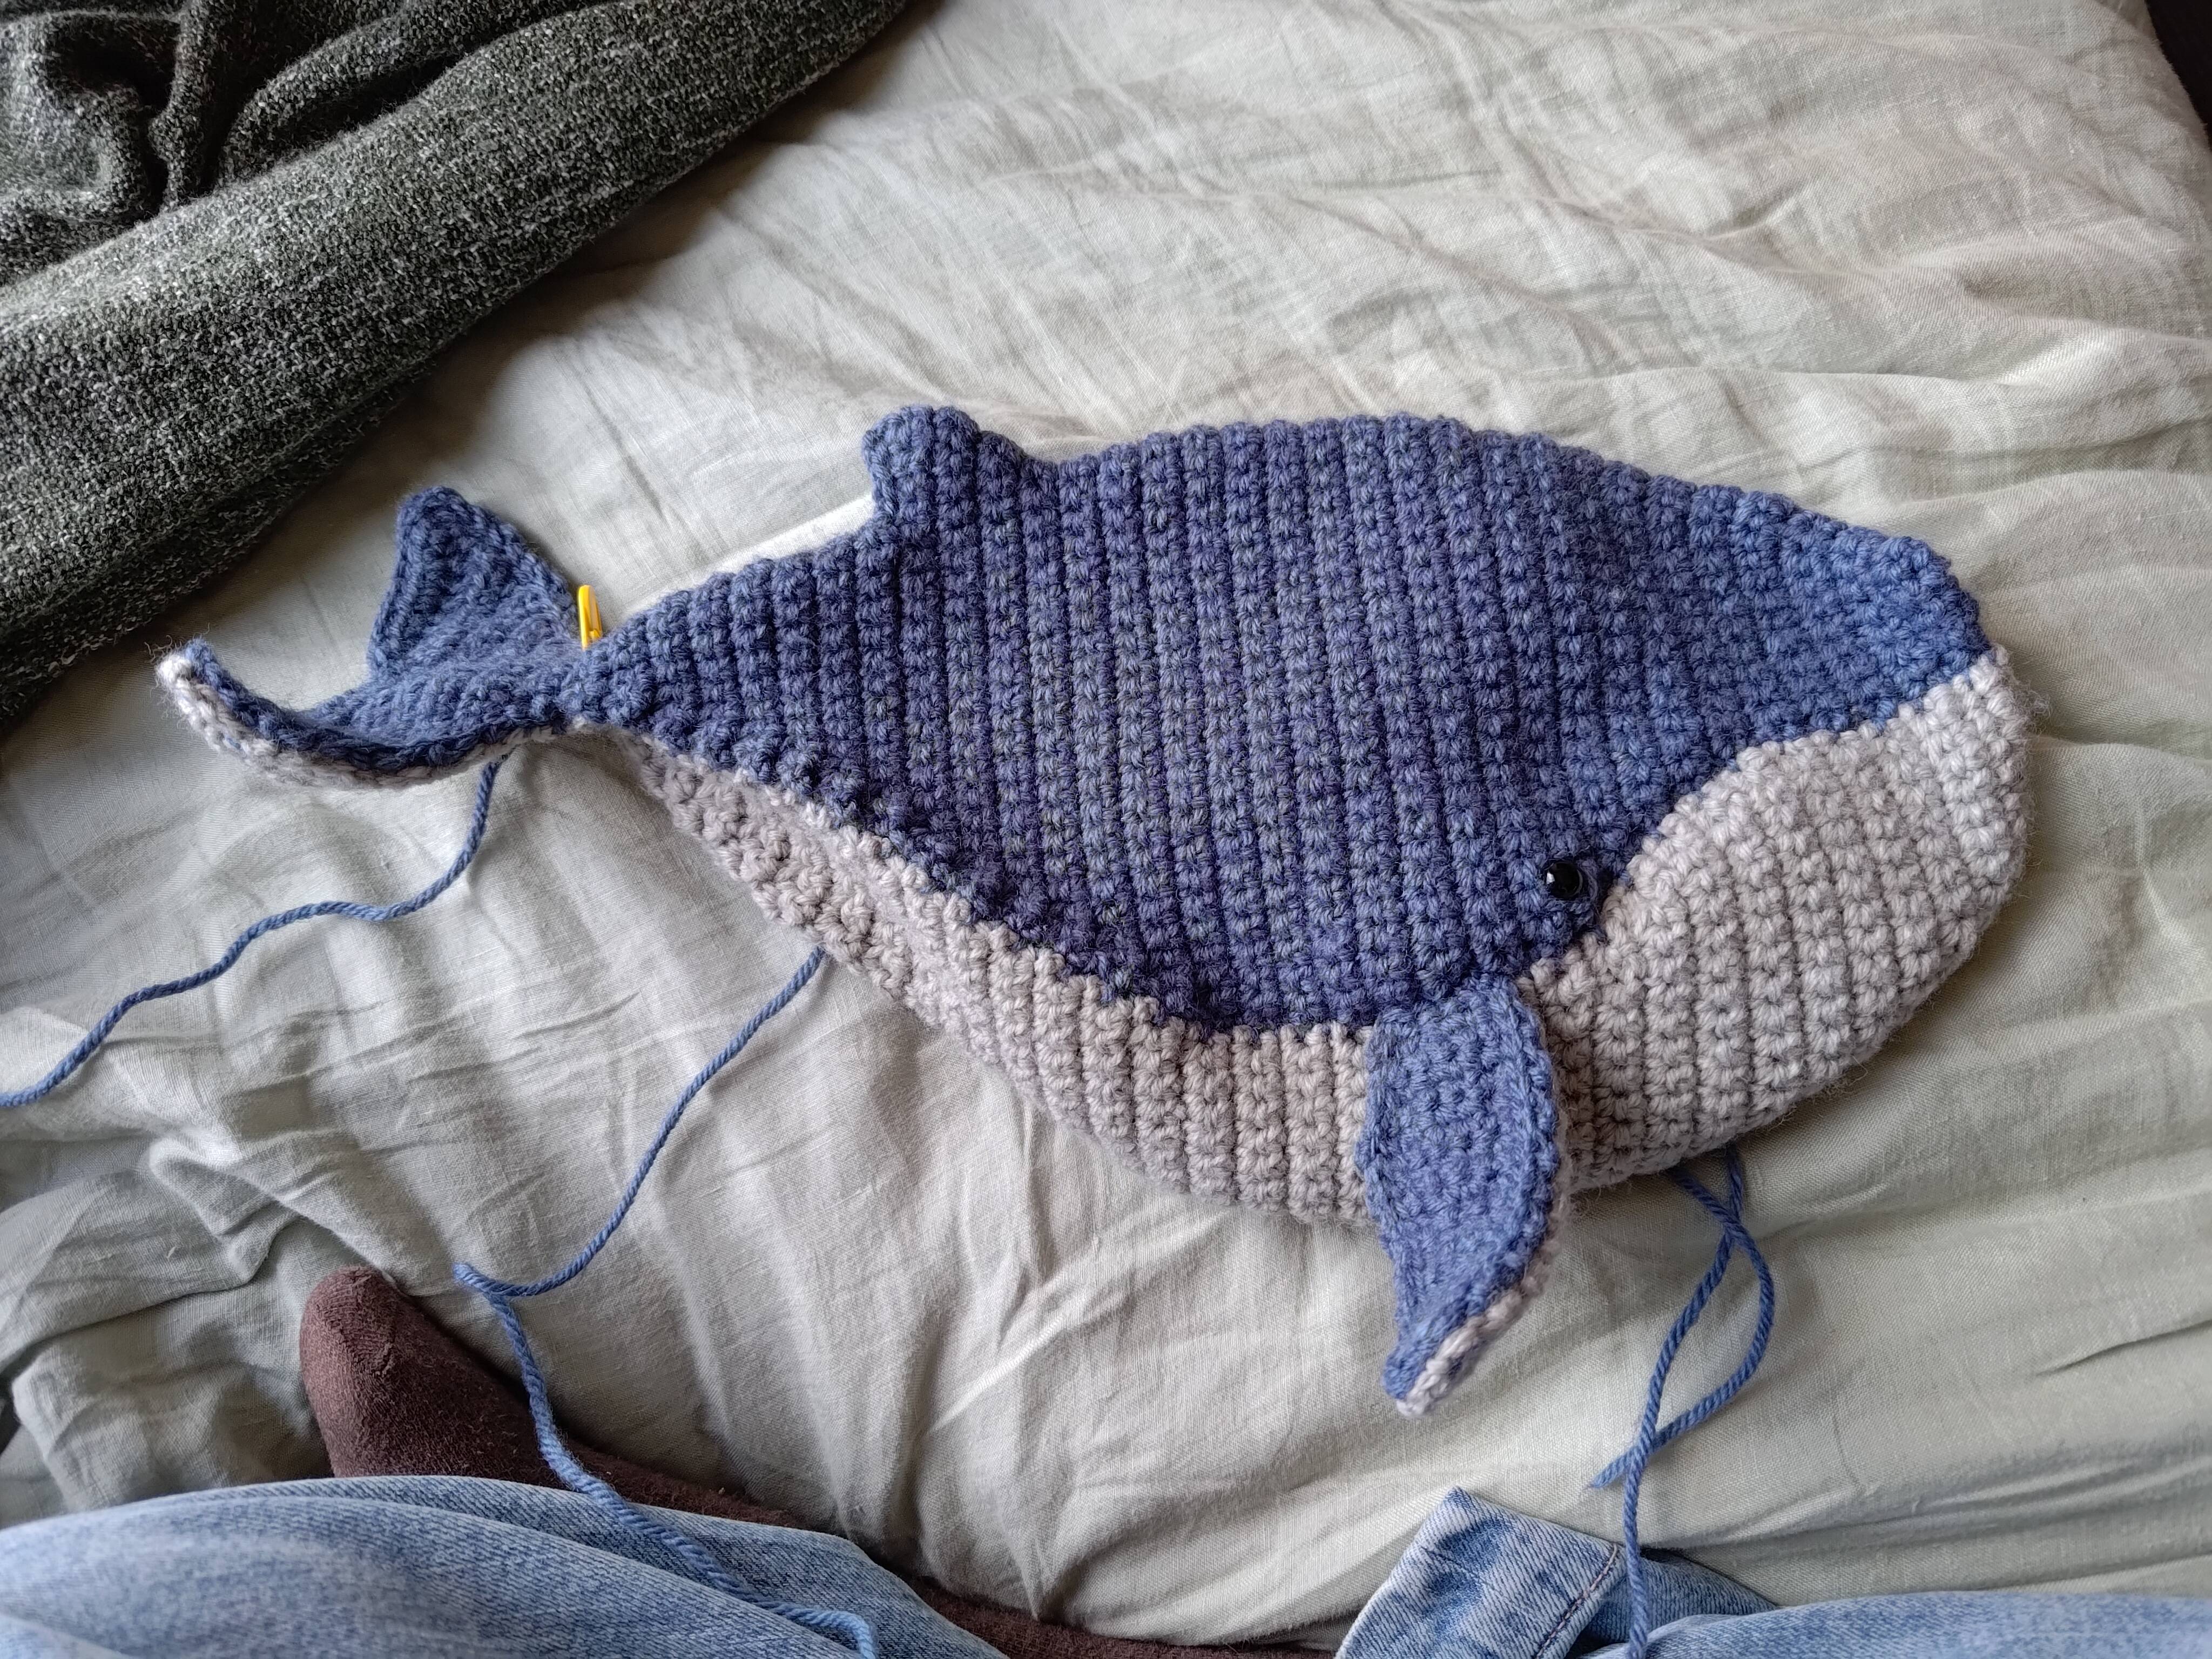
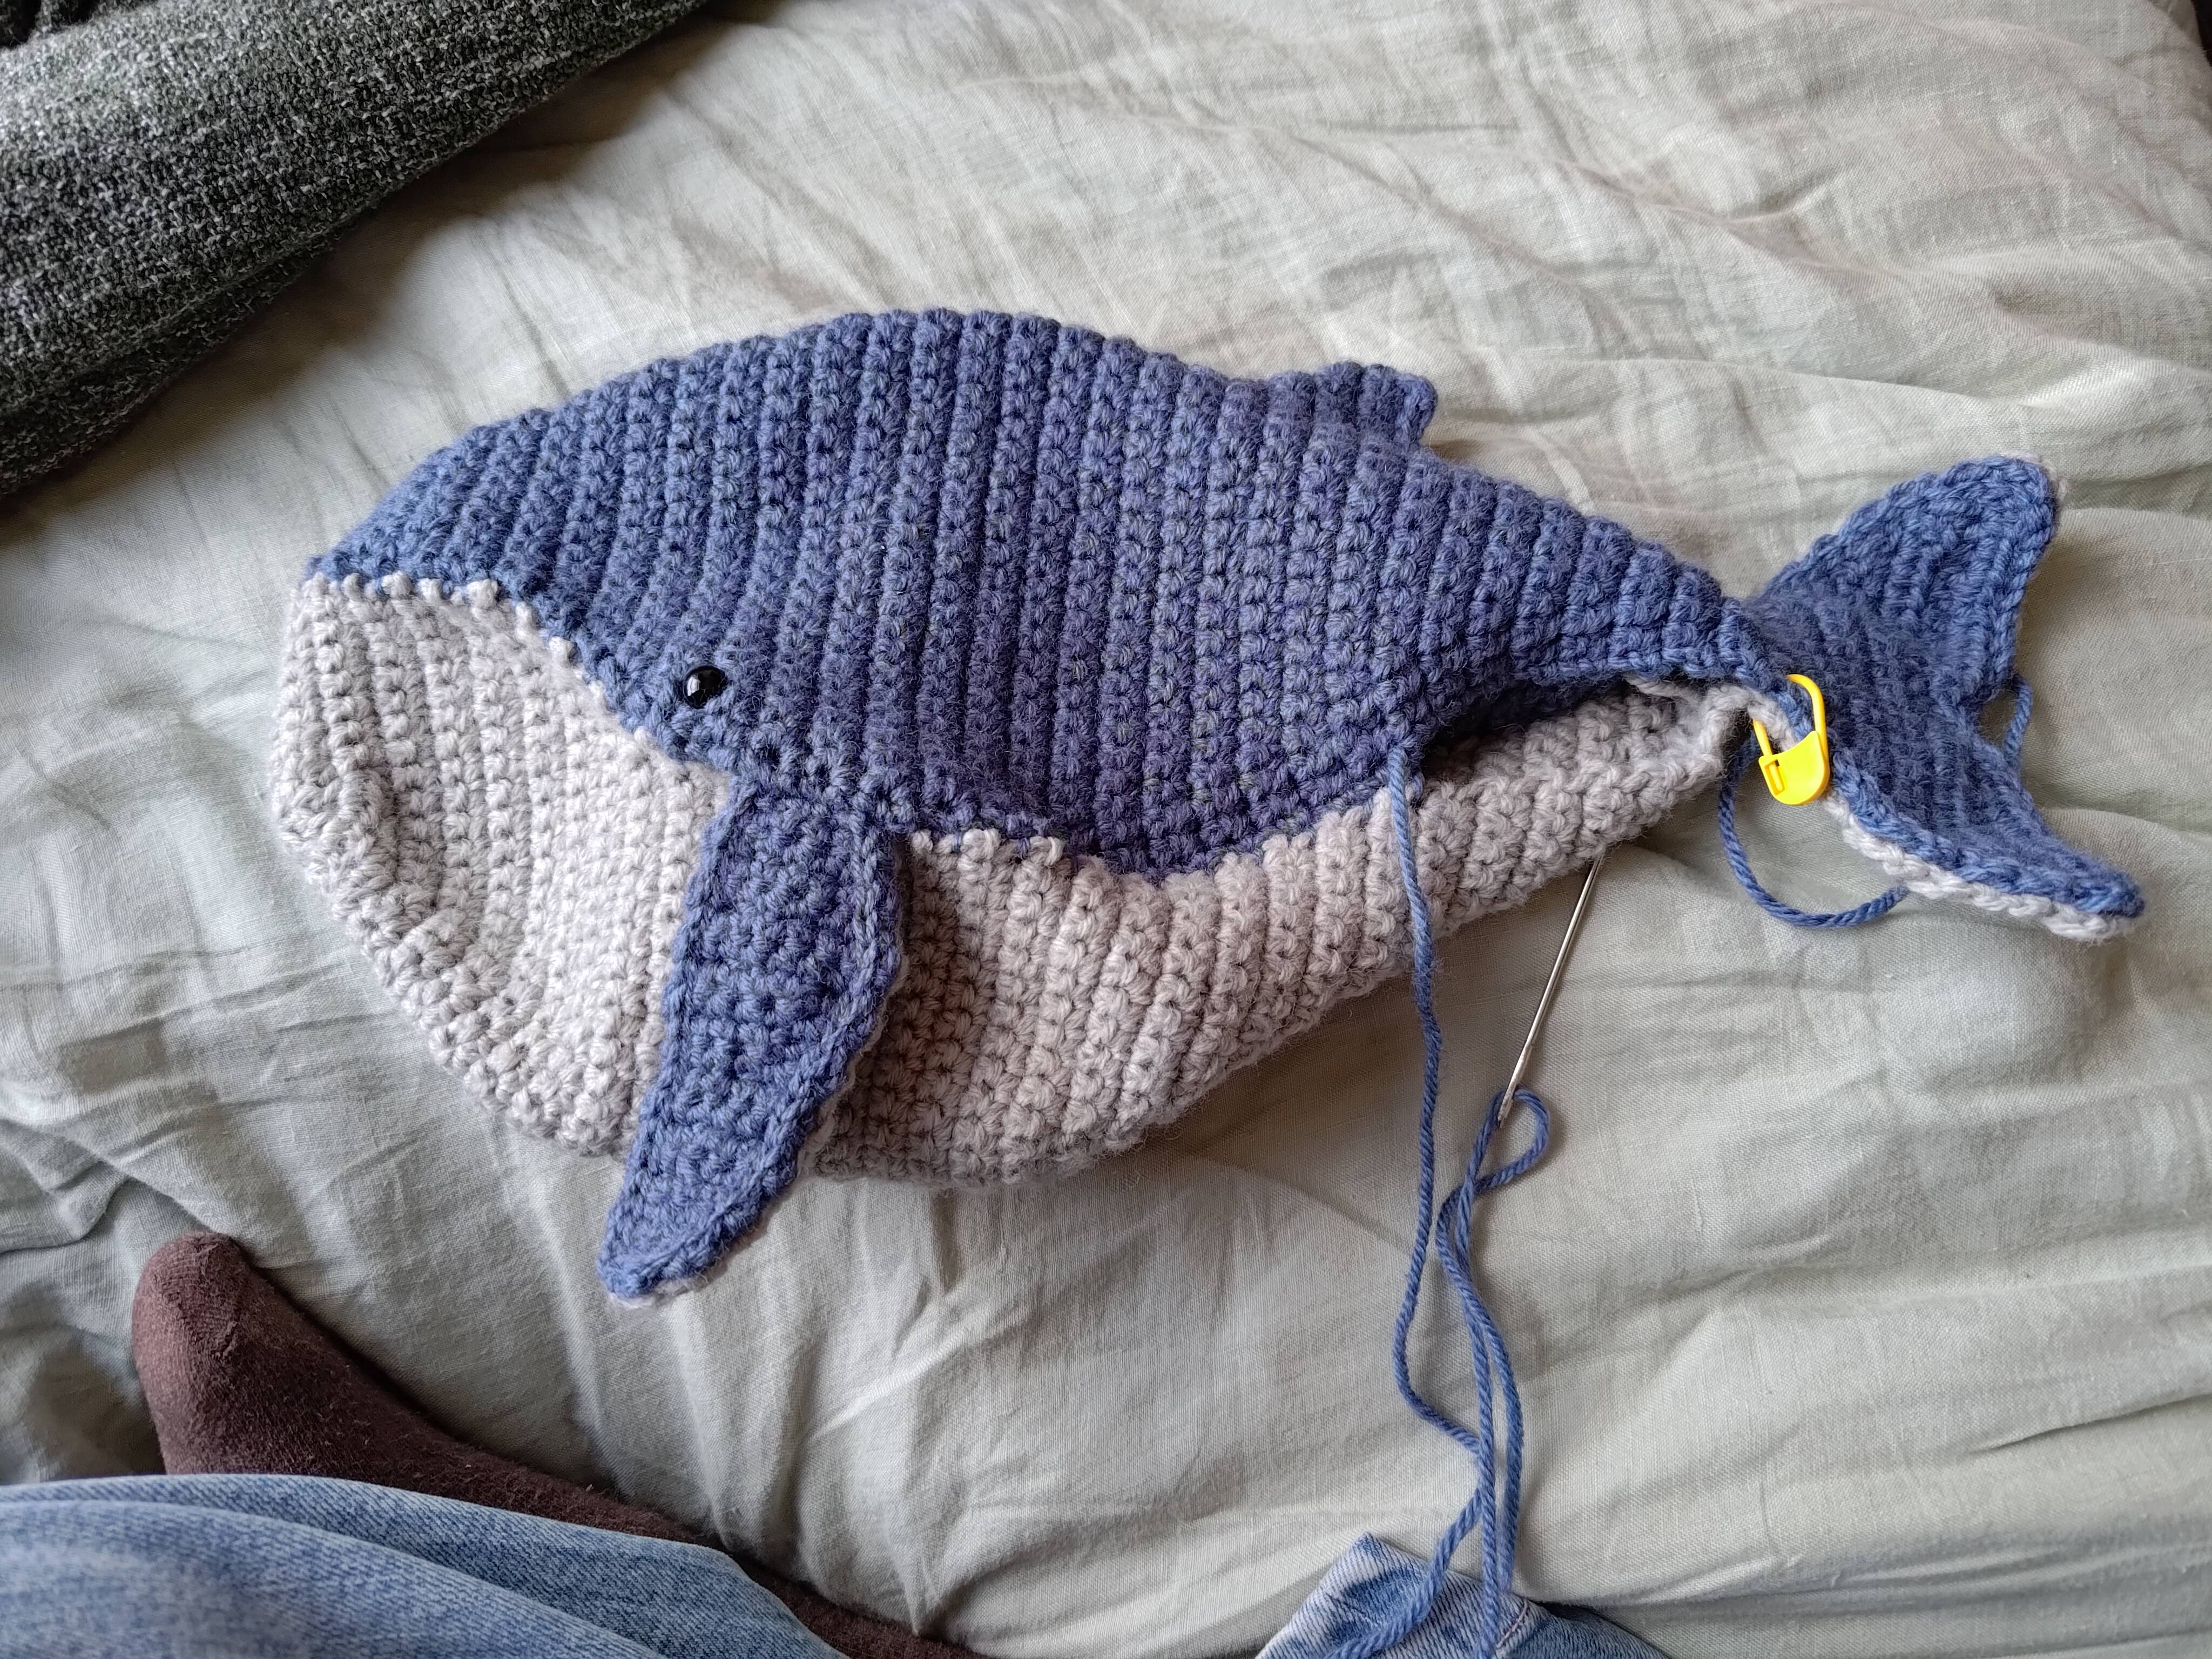
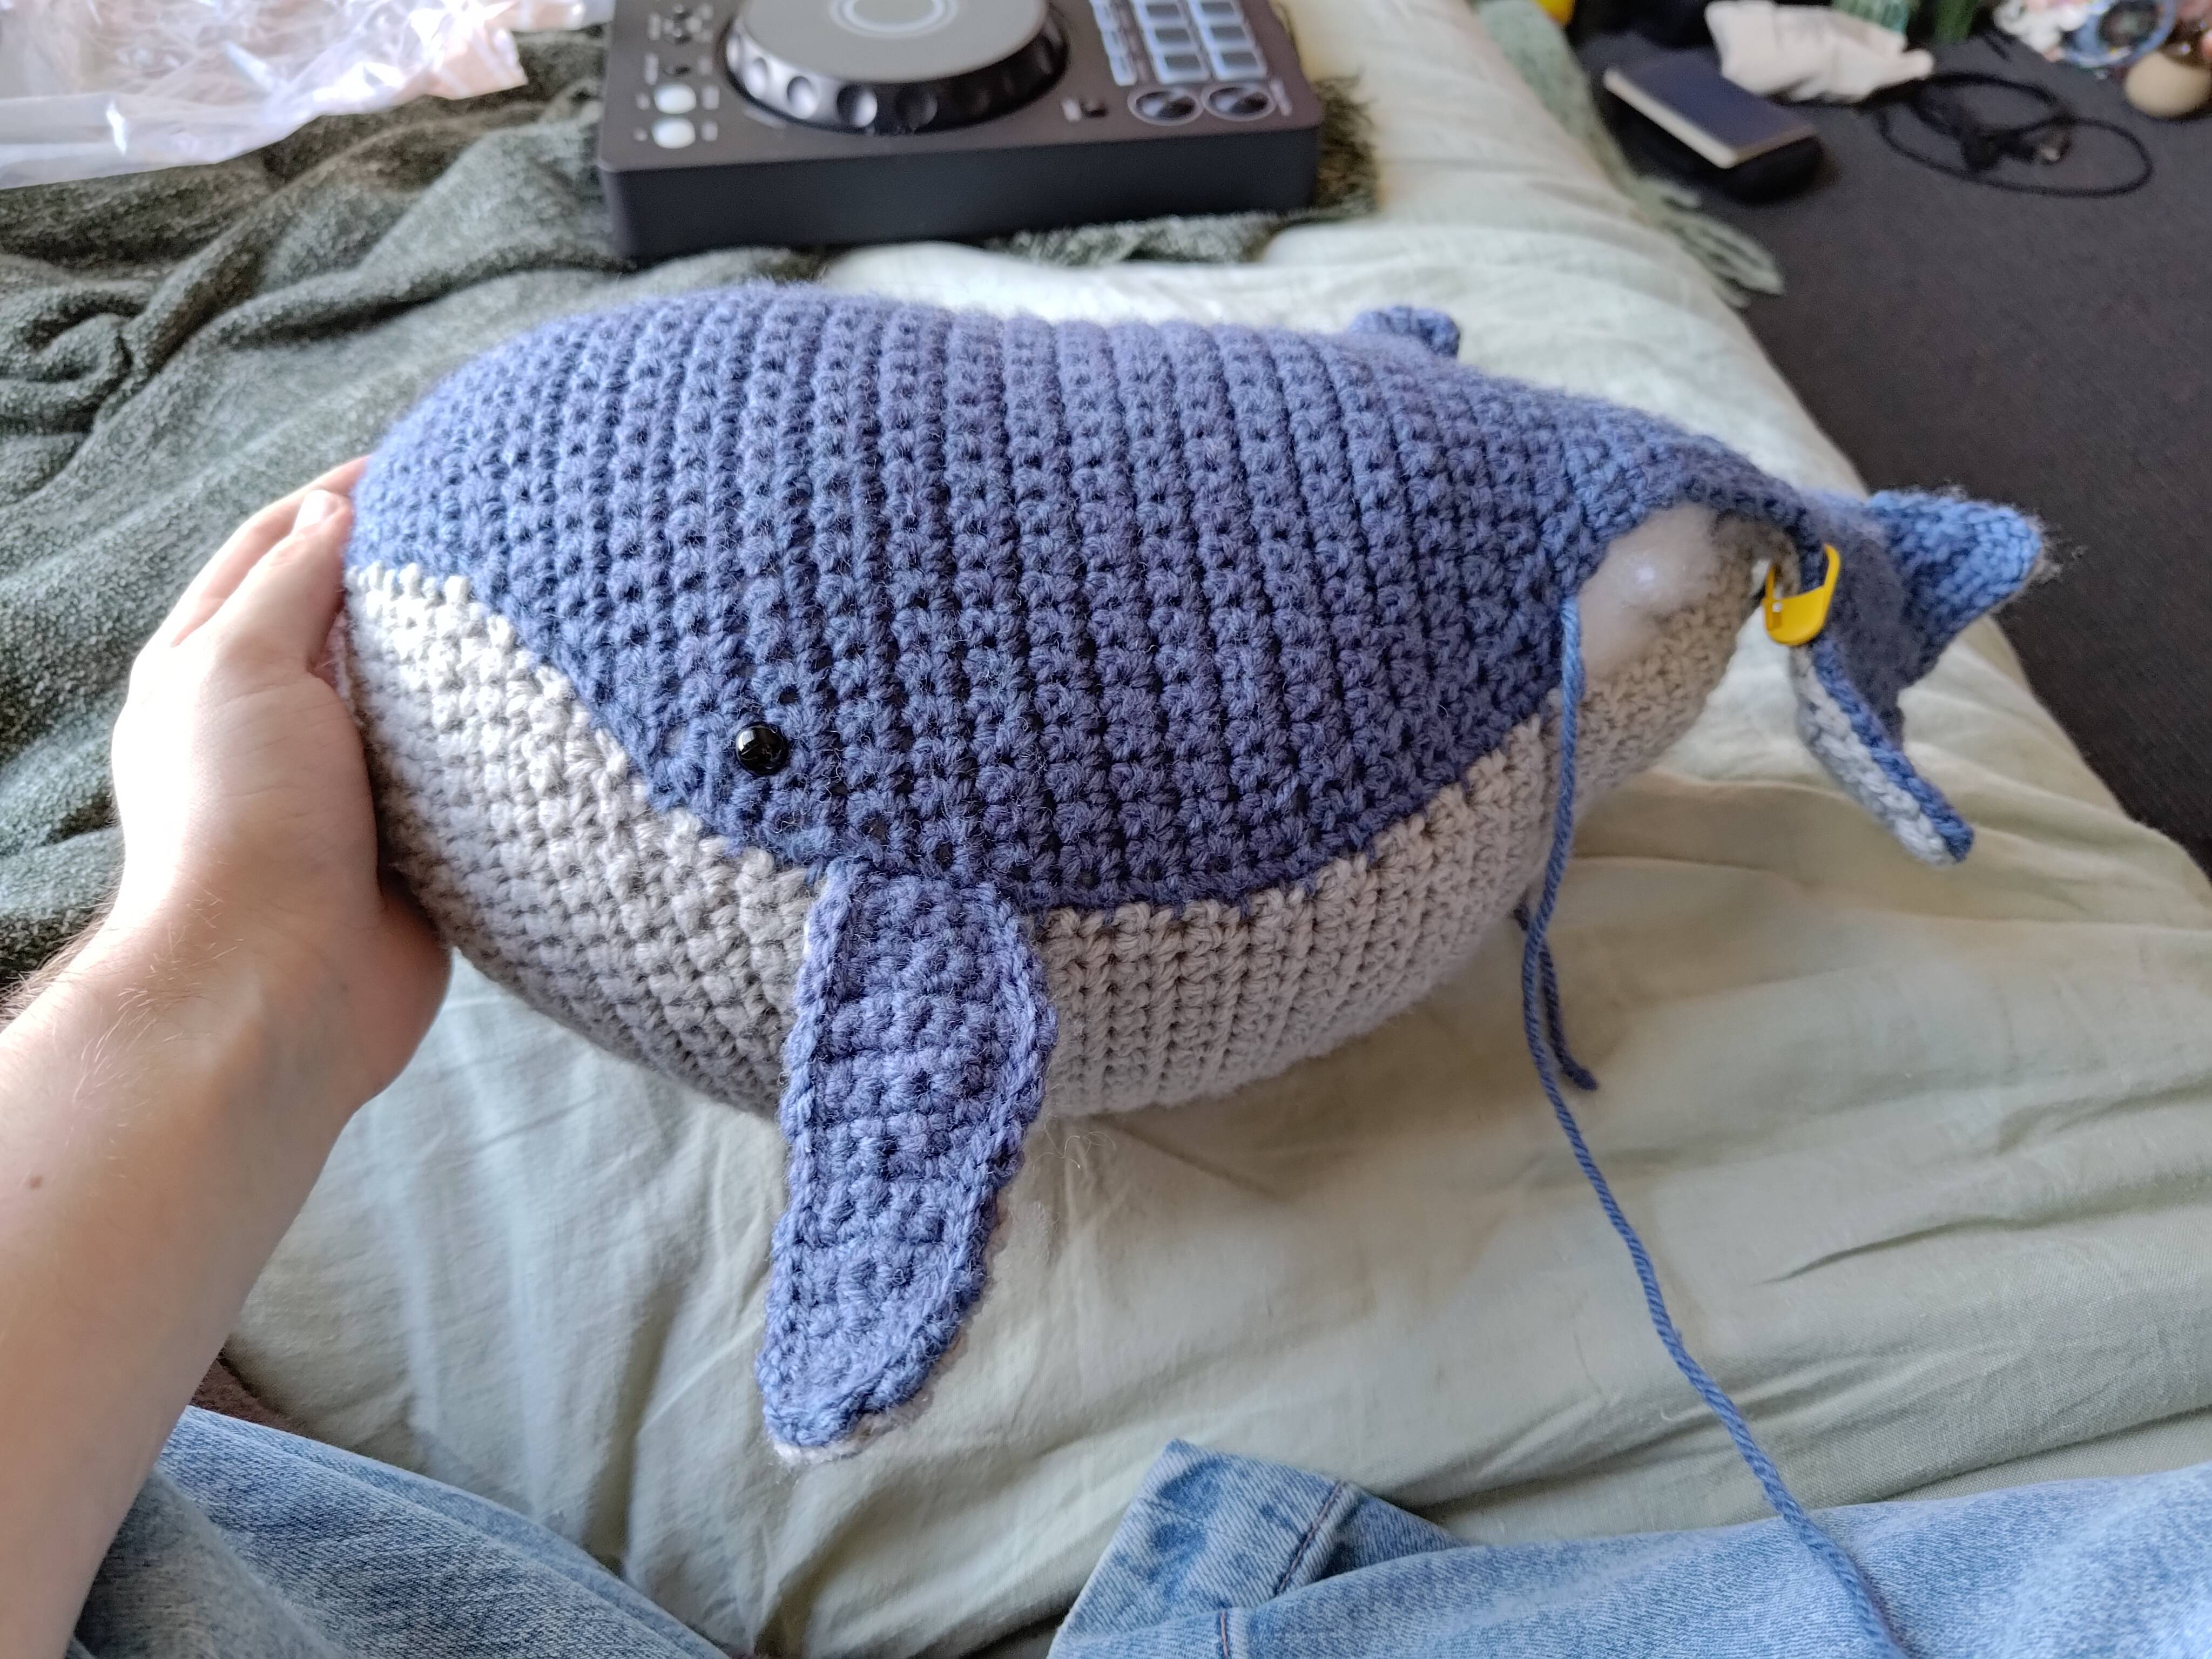
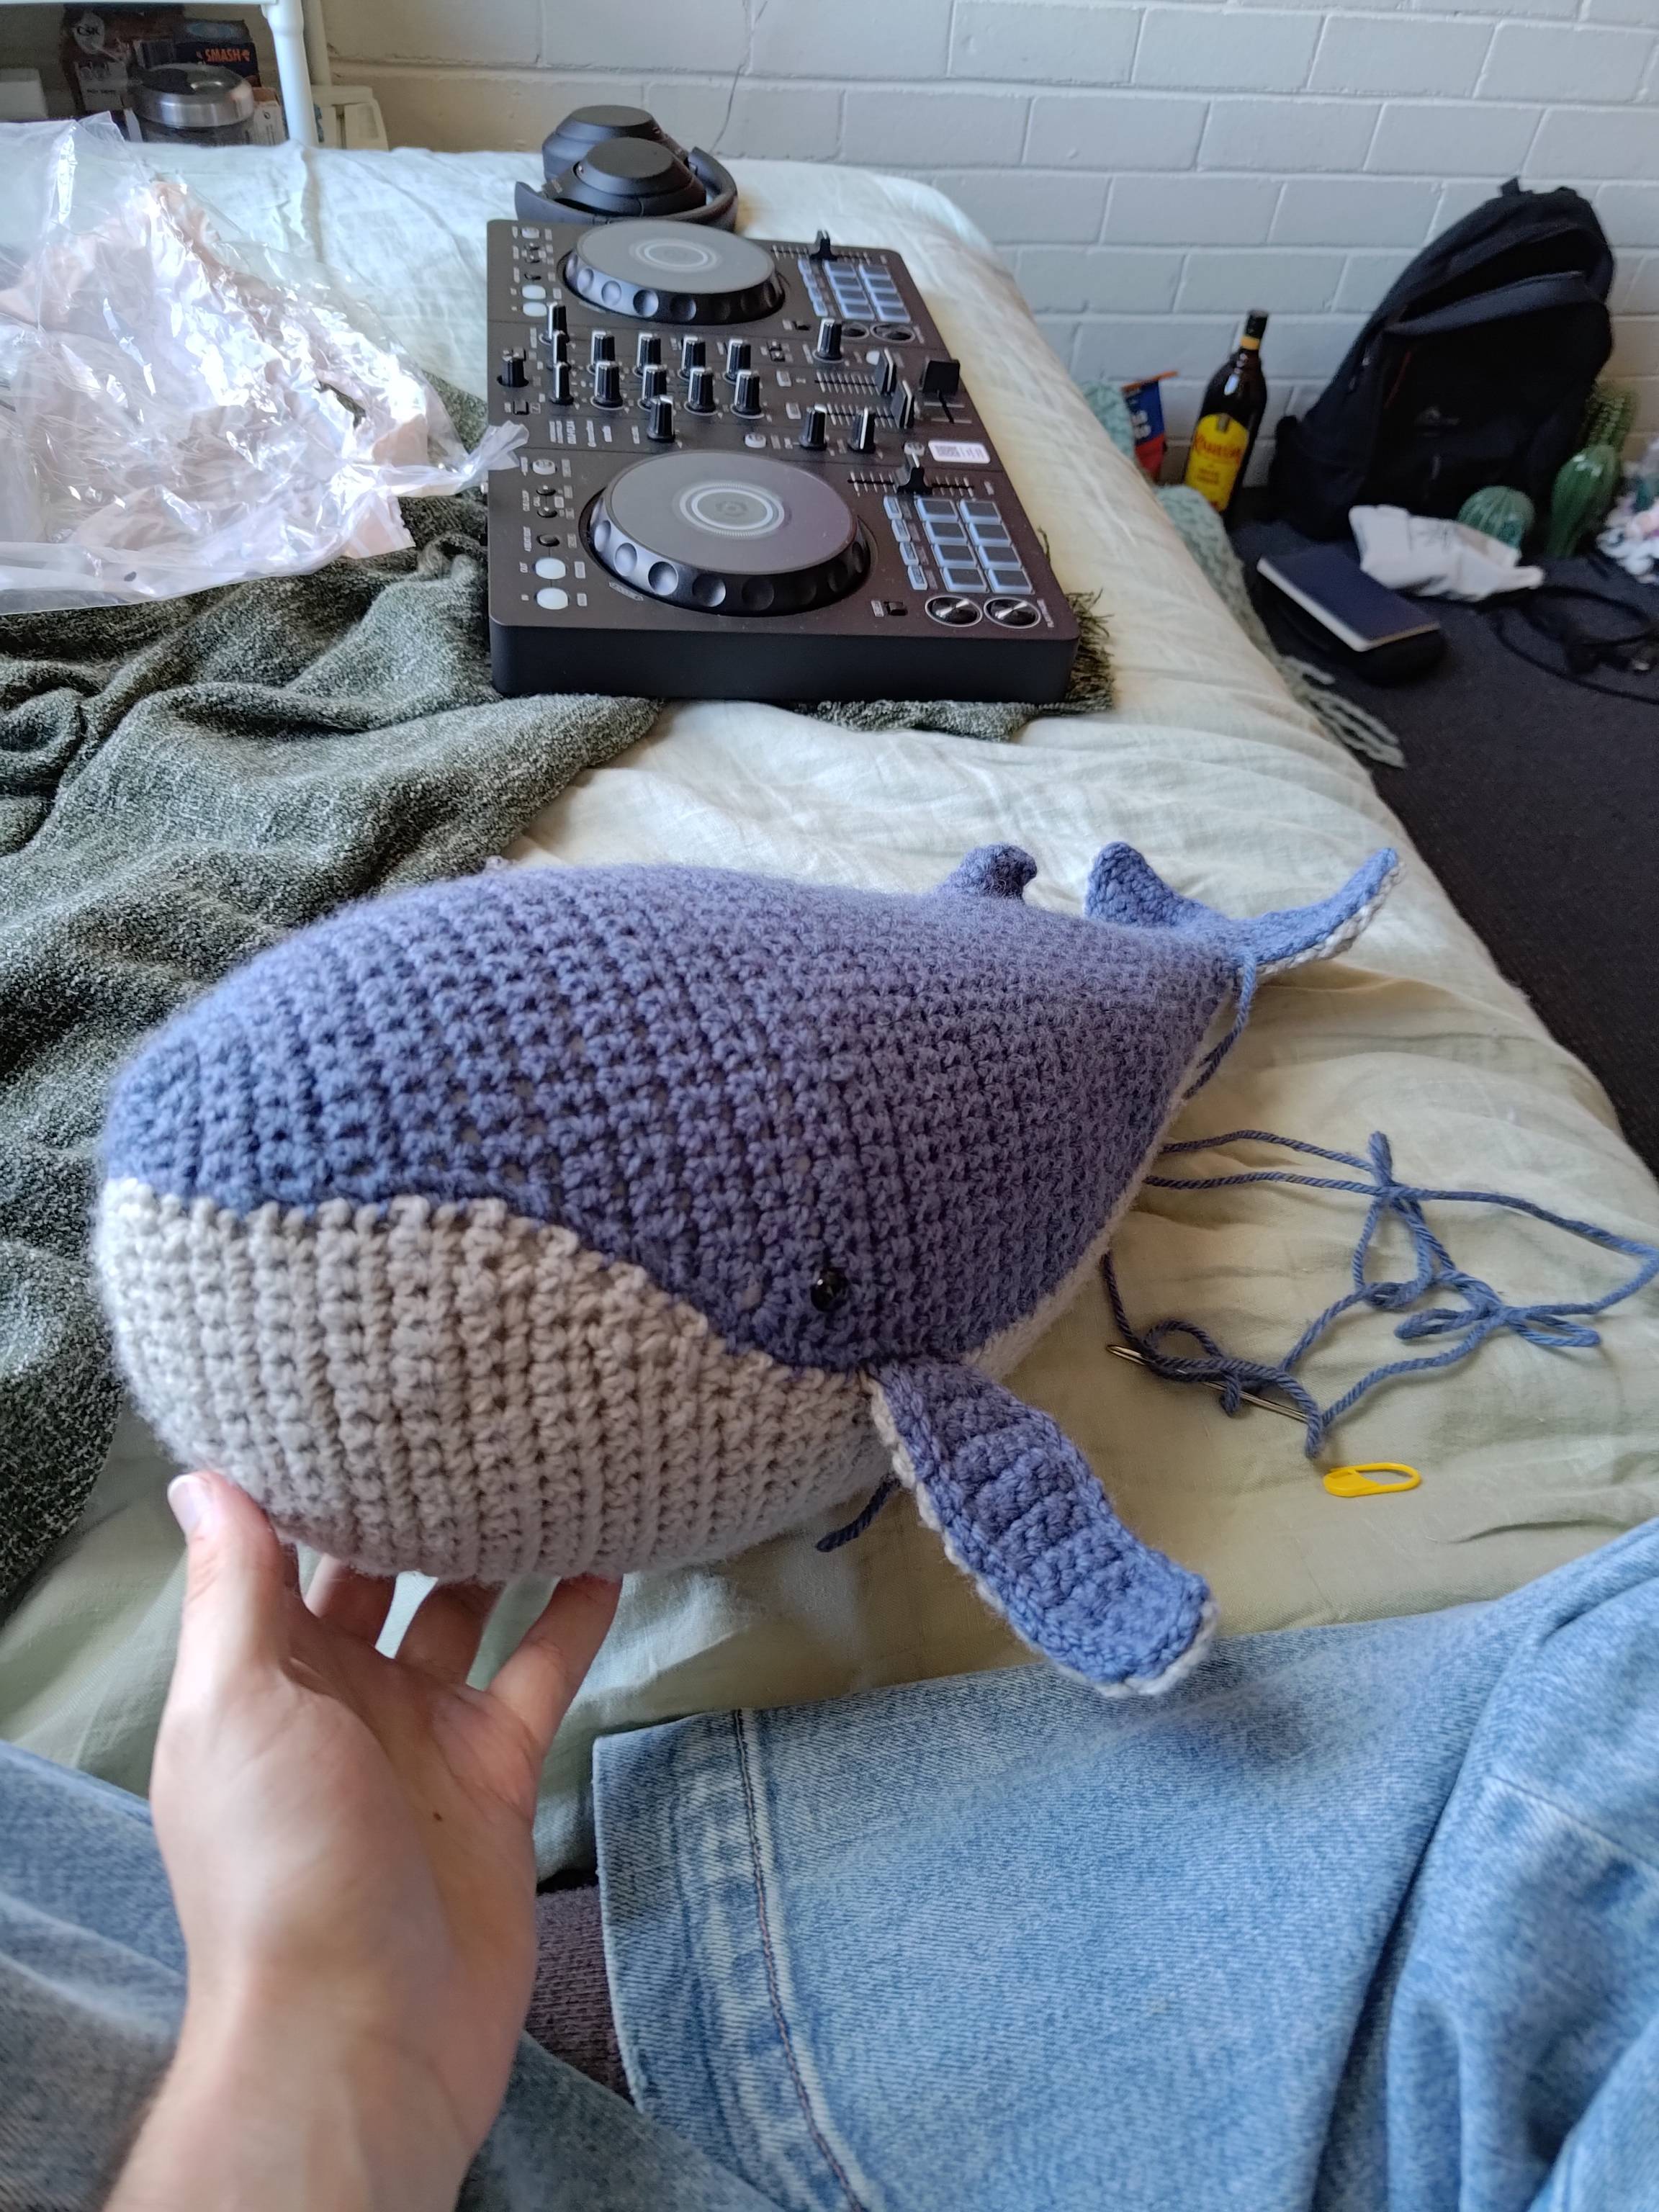
This seemed pretty straightforward – and it is, in essence – but it was deceptively tricky to get everything lined up, even with (I thought, at least) sufficient stitch markers. I found that I'd work mattress stitches through matching rows on the right side, work the fin in, and then the seams on the nose would be off by just a couple of loops. I'd undo it all and try again, only to be off by a different amount in the other direction. Ultimately it just took several attempts and carefully counting both the completed and yet-to-be stitches to get everything lined up. Curiously, tracing the $n$th row circumferentially now leads you in a spiral along the body despite the row edges and marked points (ie. the tail, eyes, nose seams) lining up properly. I still do not quite know what it is exactly I did wrong here, but everything looks fine without too-close inspection and she was (and continues to be!) very happy with it, so I suppose it doesn't matter so much.
The final product
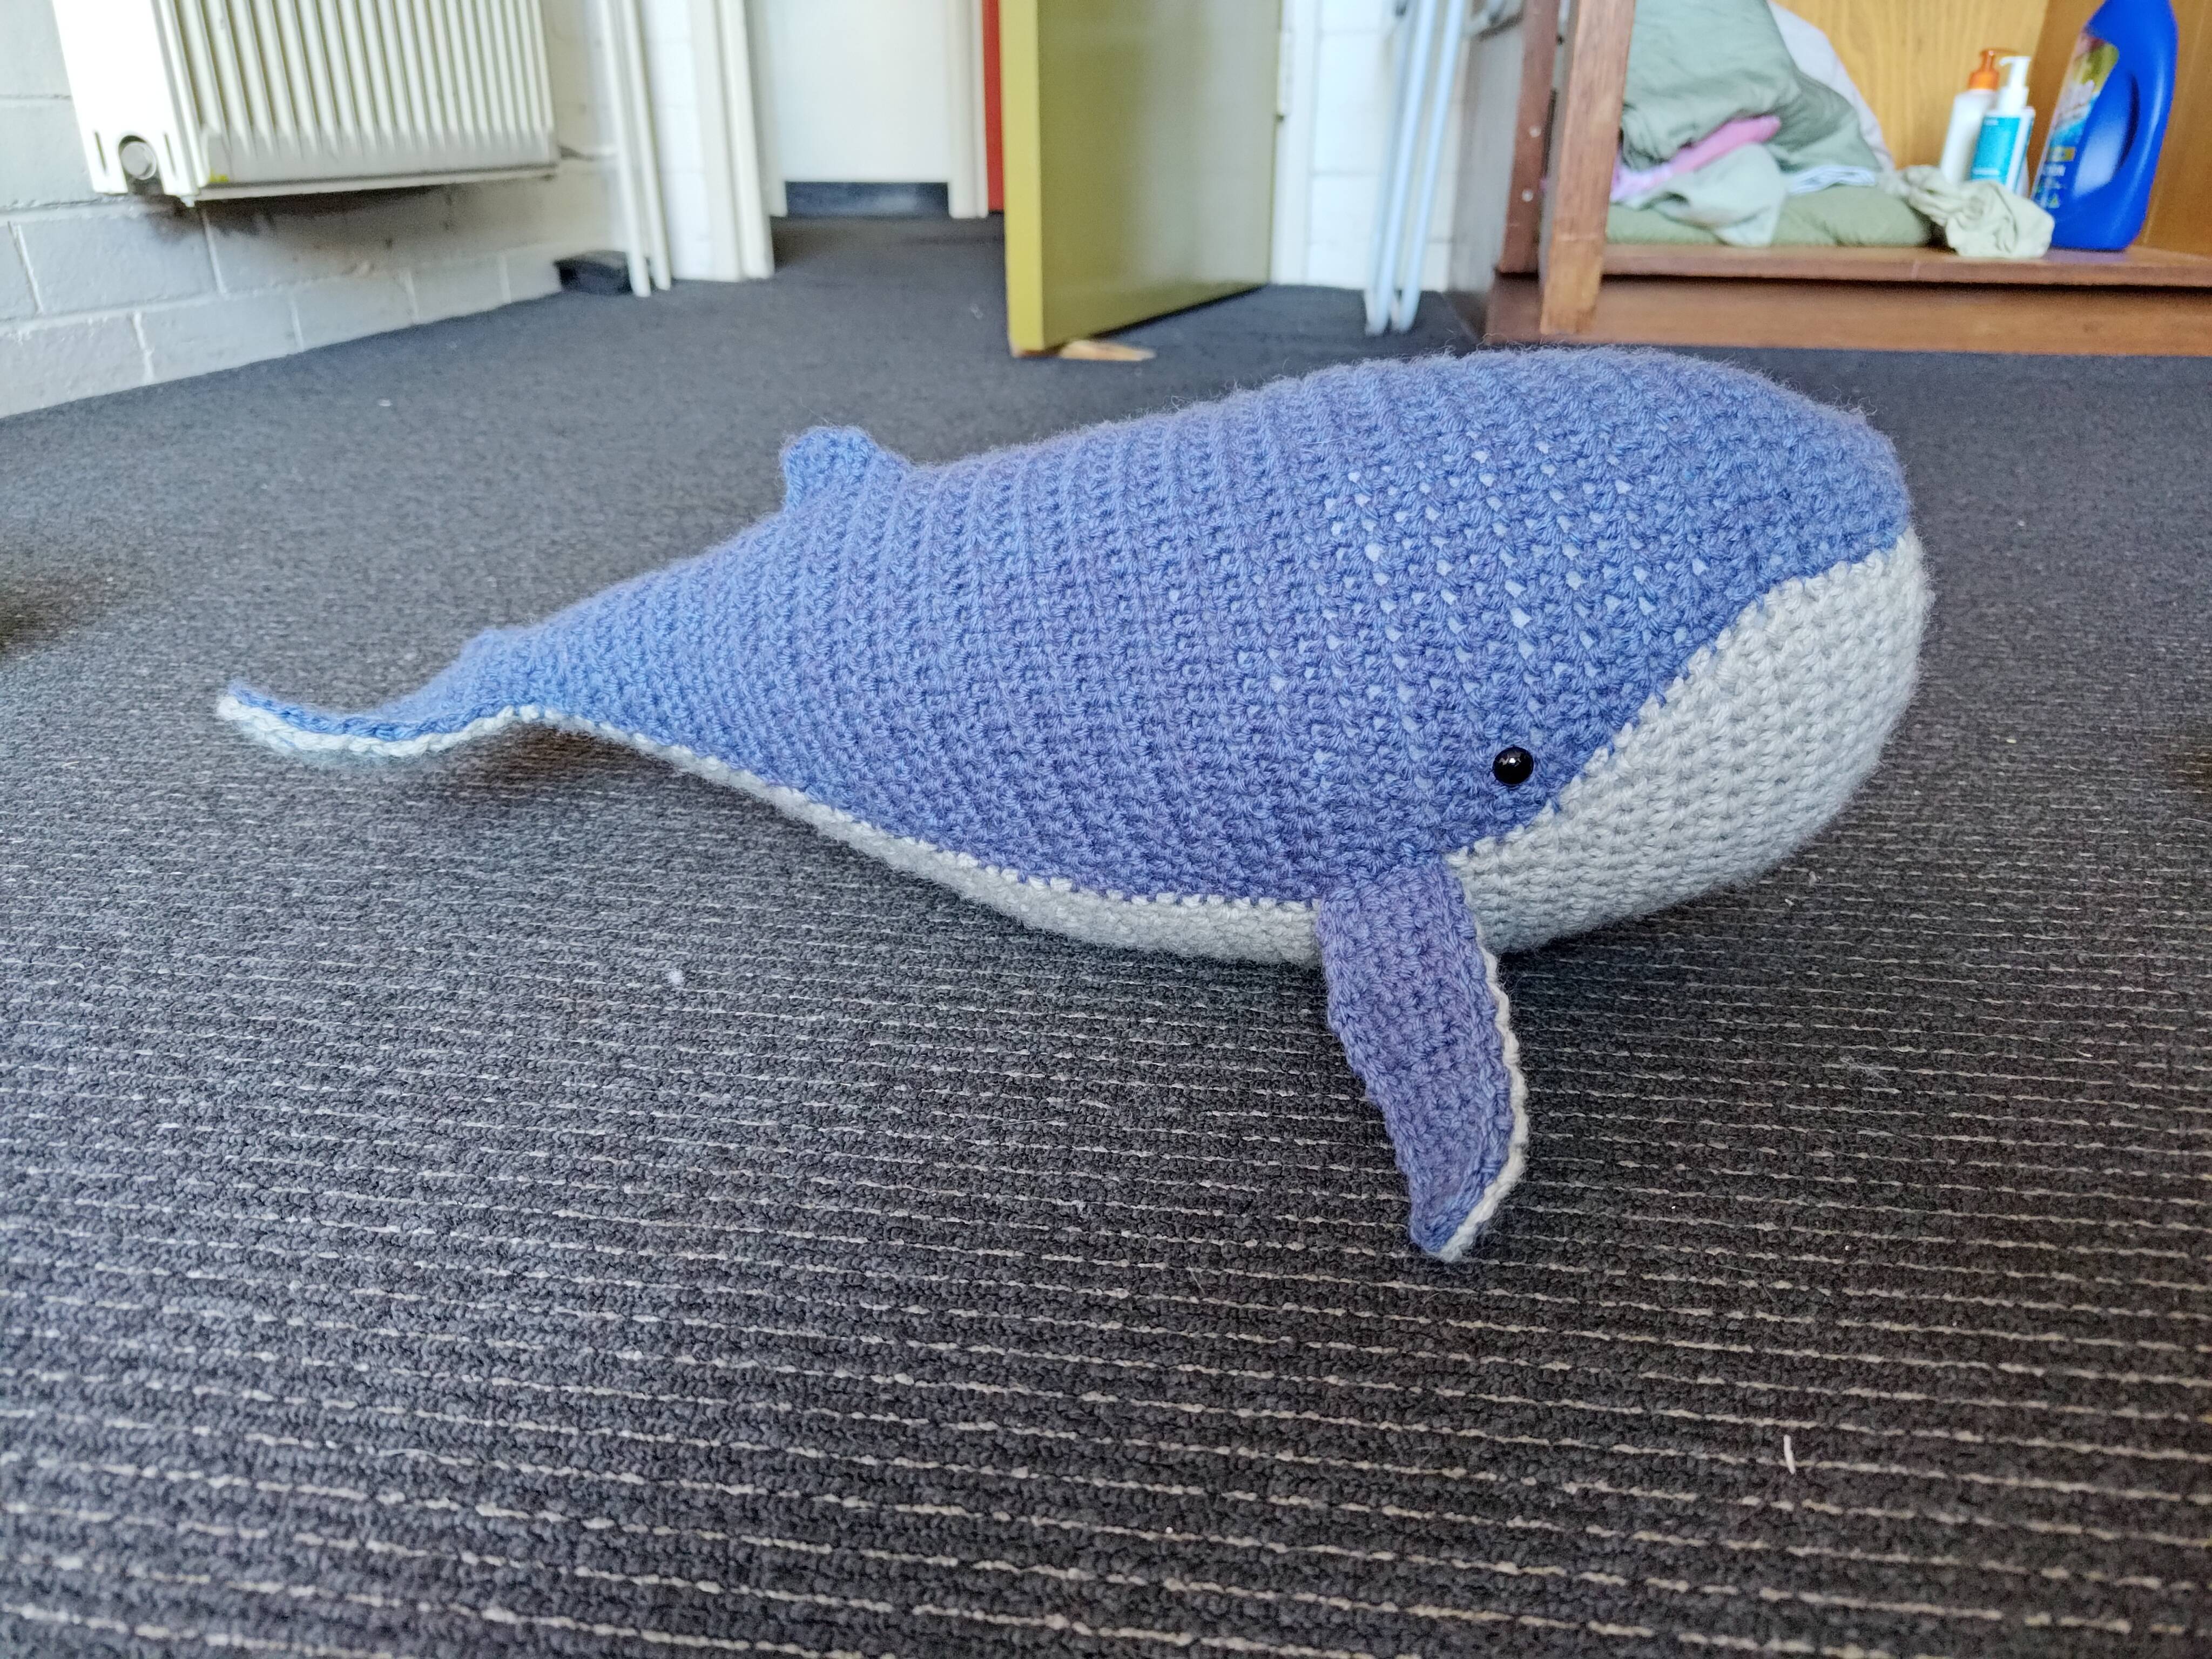
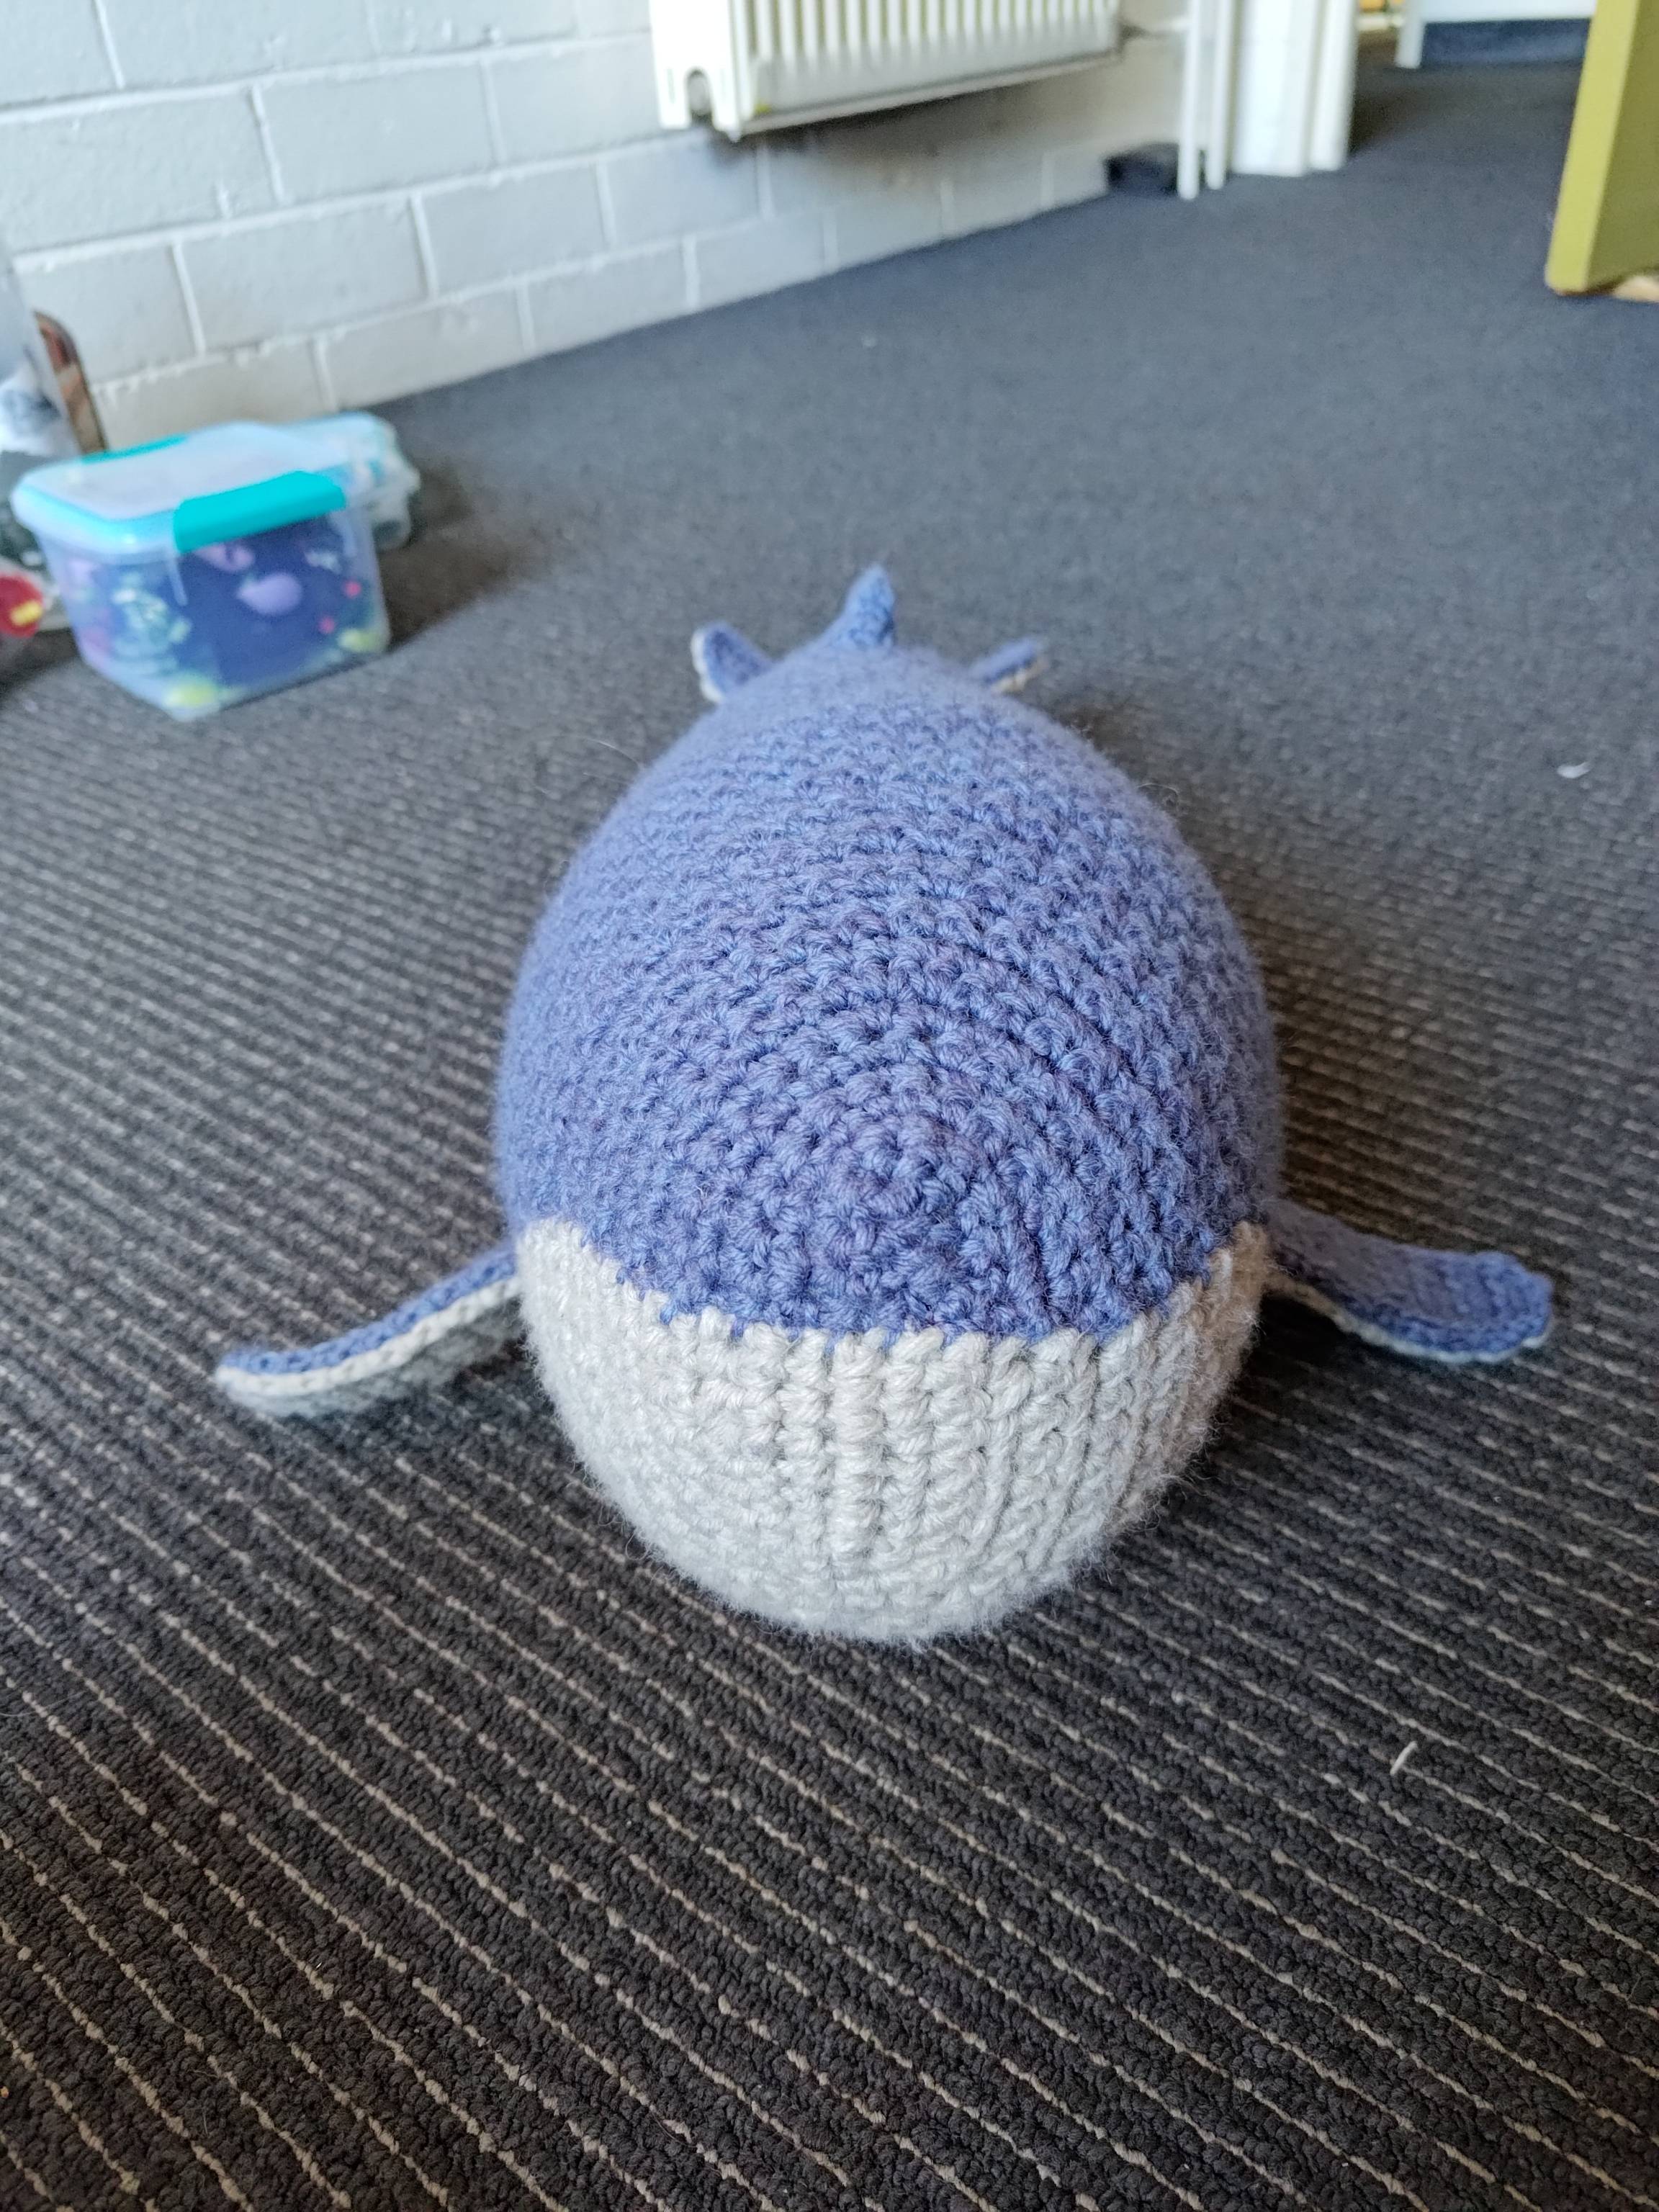
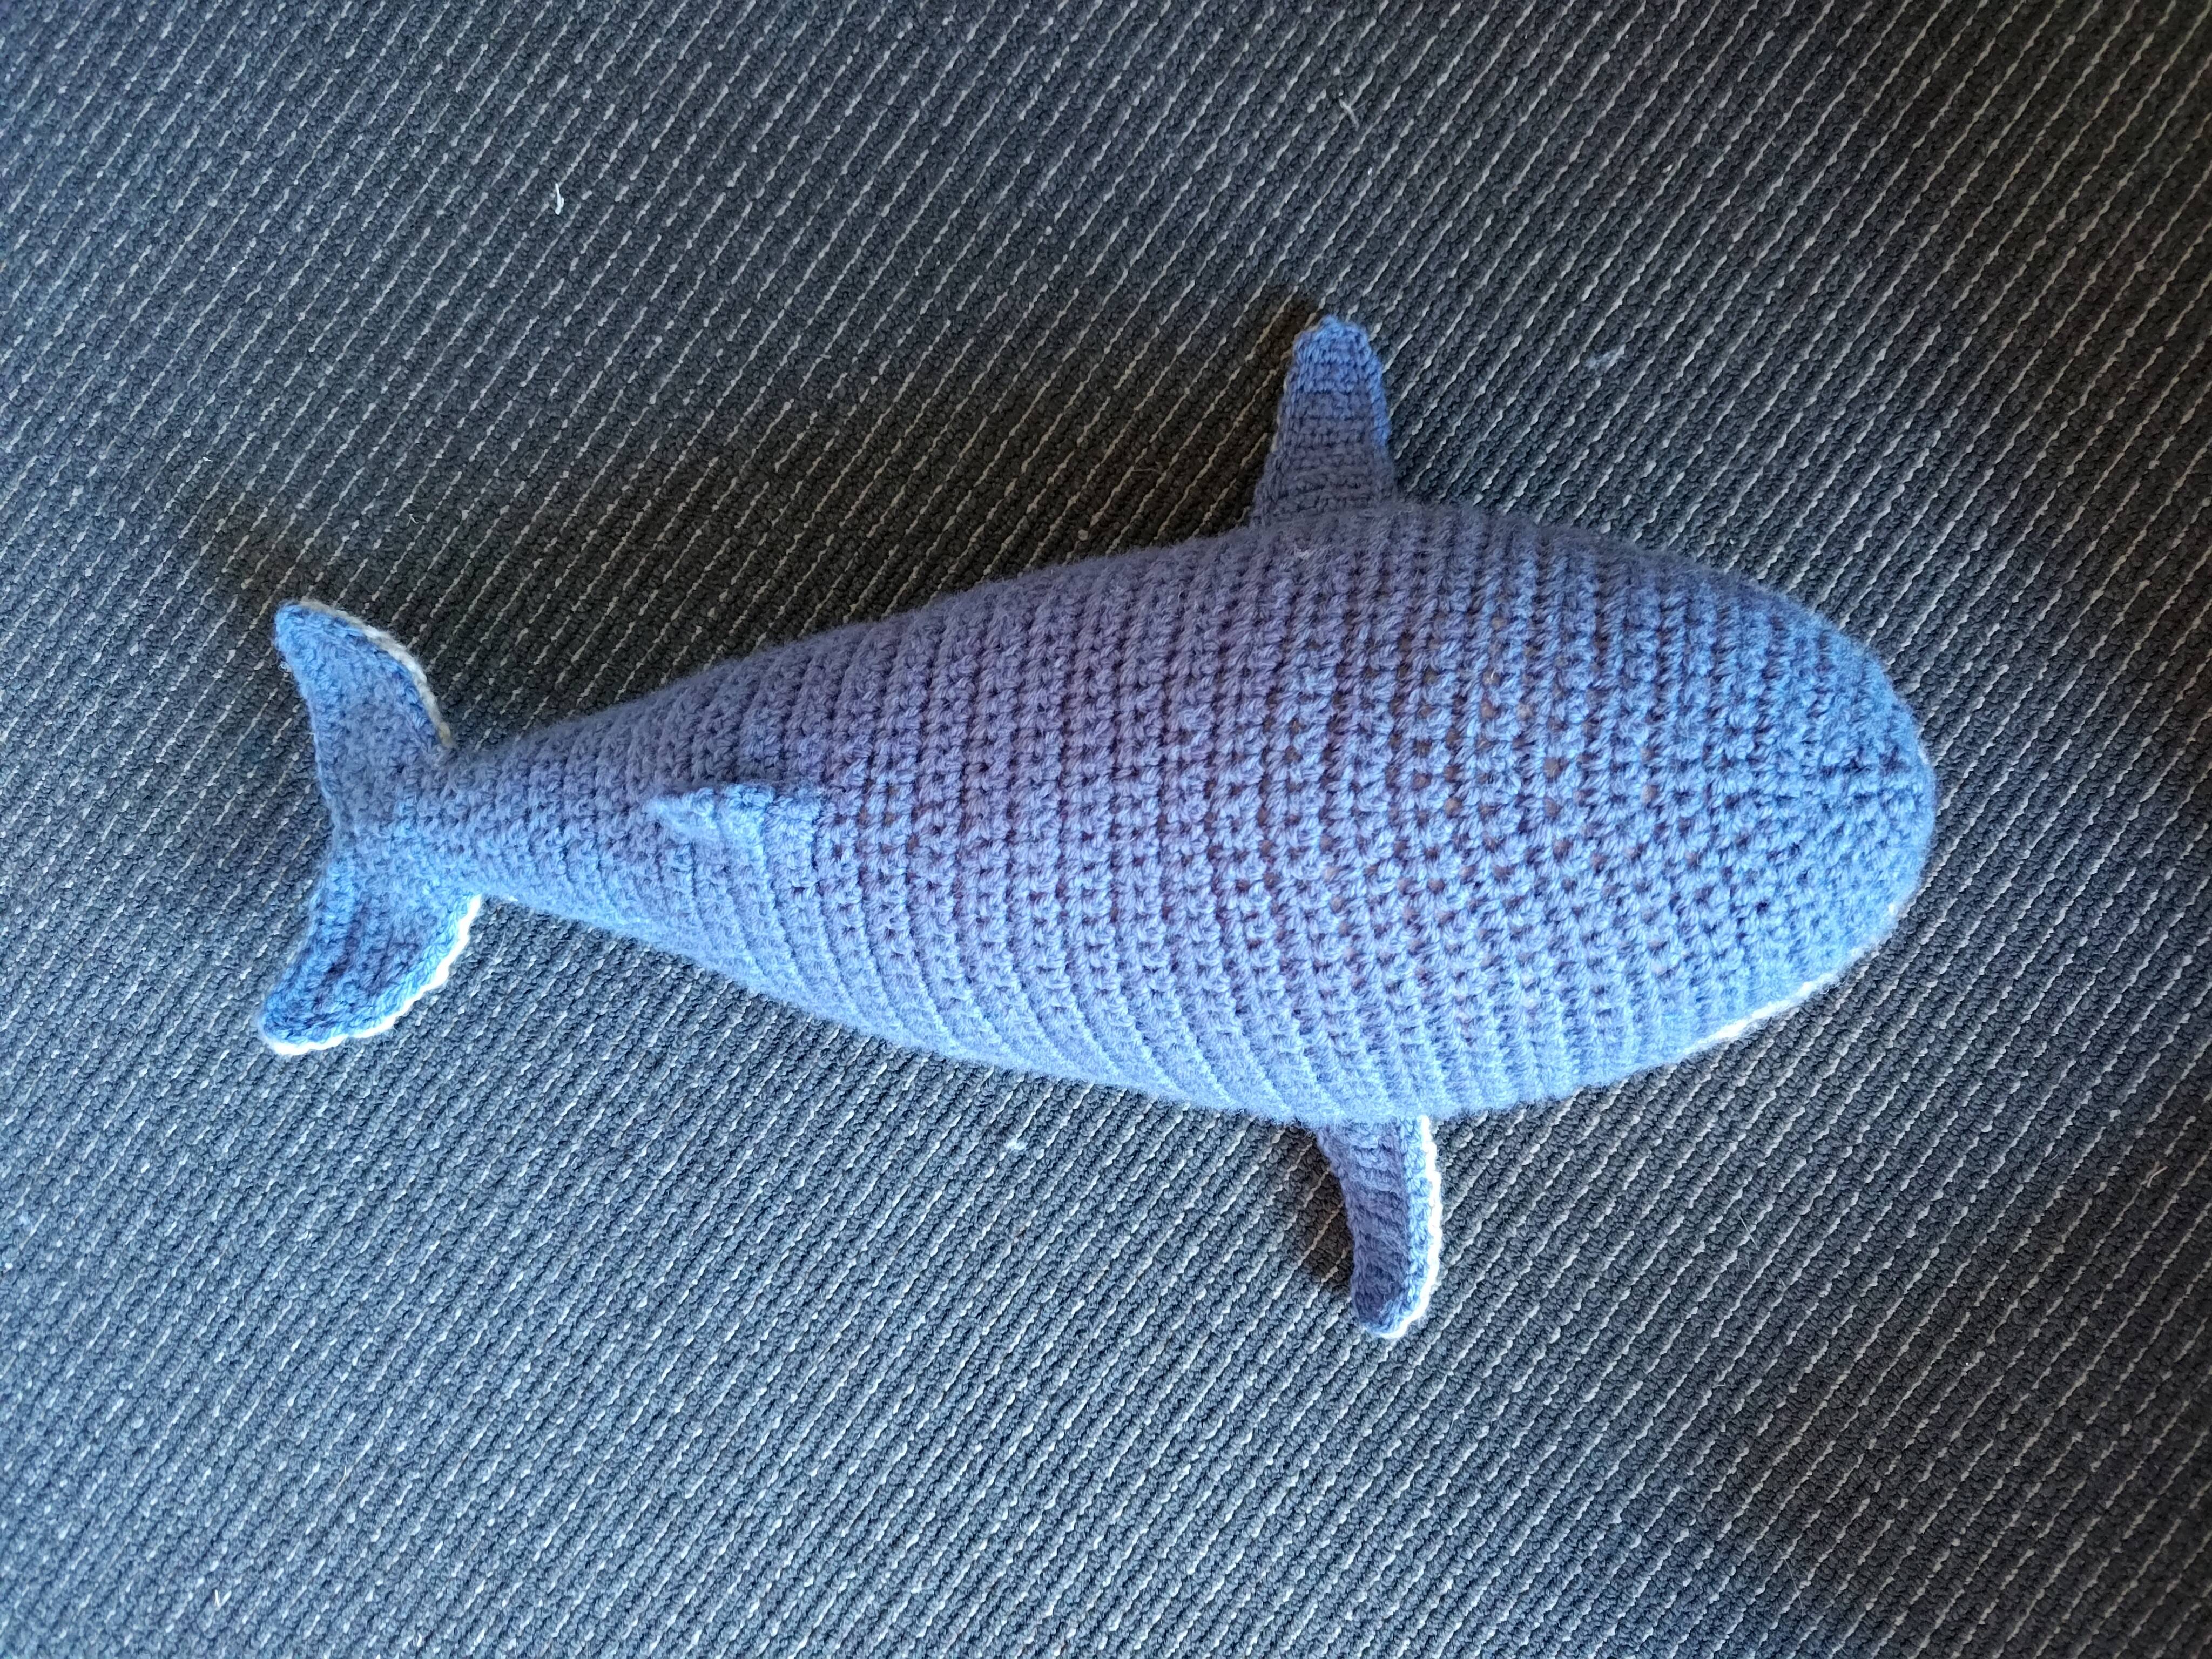
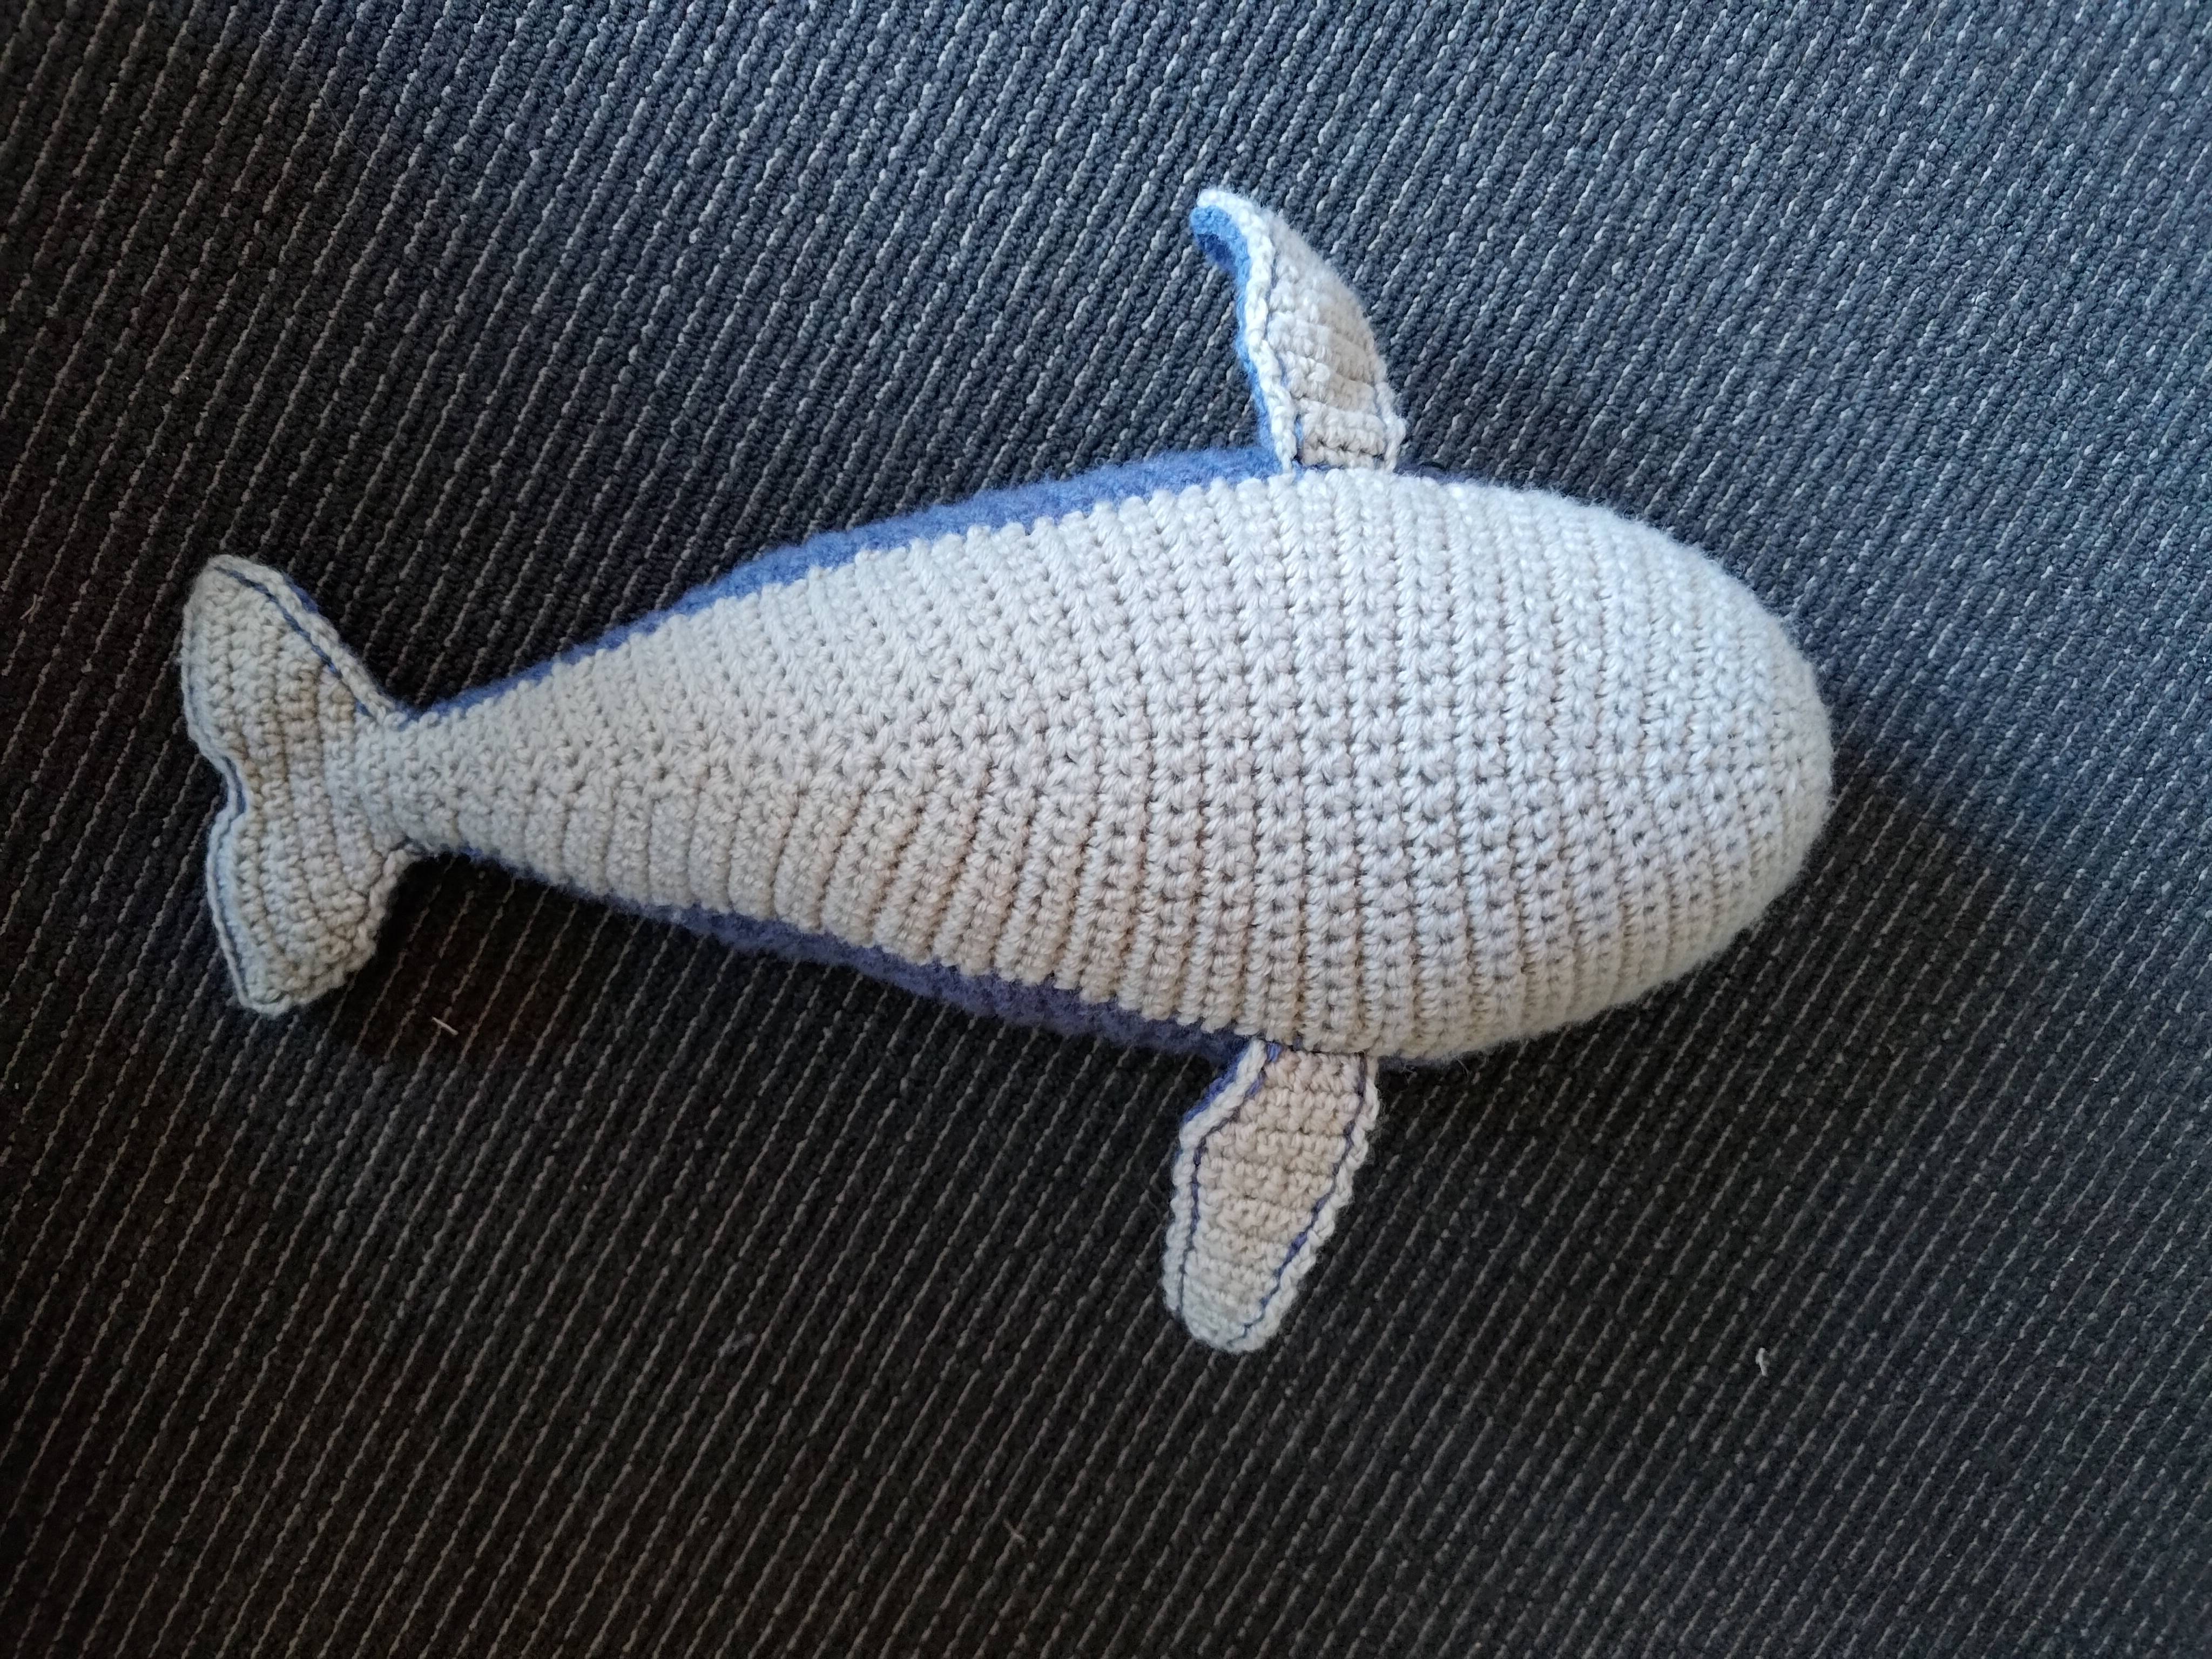
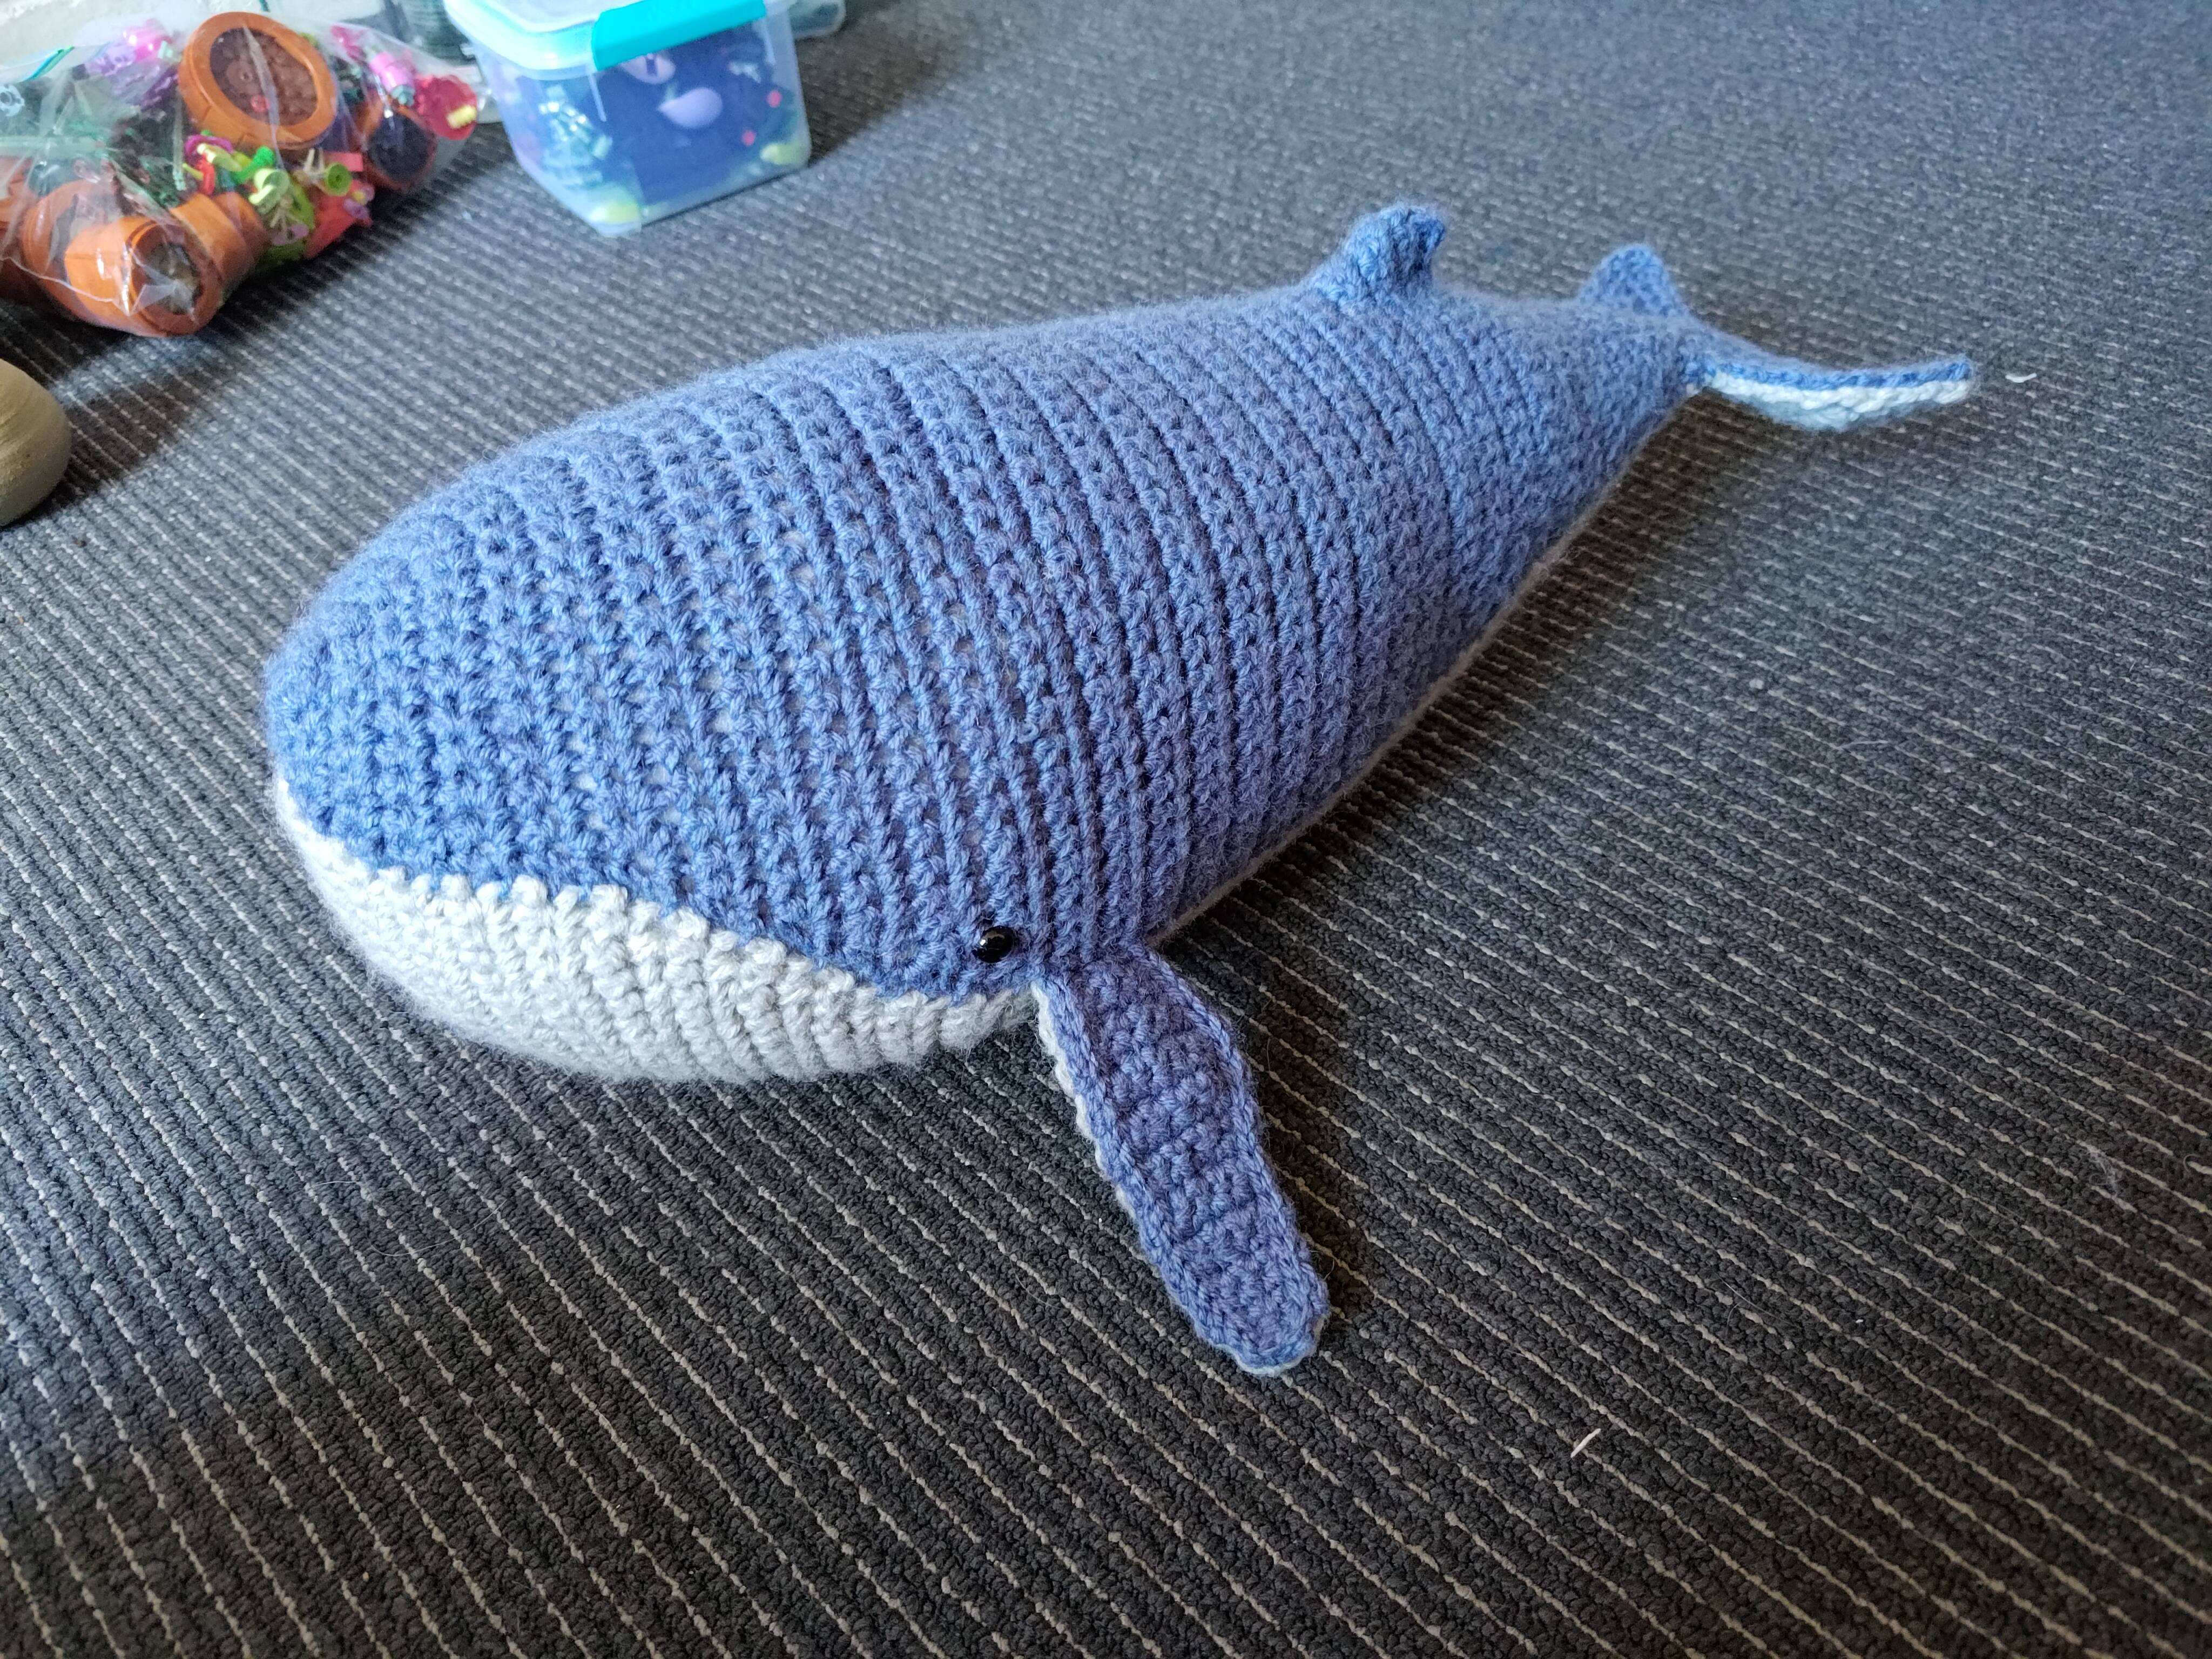
And here is a brief gallery of the result:
Overall I am very happy with how this turned out, mistakes accepted, and it was a really fun project to work on.